Toggle
- Grafana
- Authentik
- Kubernetes v1.29.9部署Authentik 统一认证平台并接入Harbor
- Authentik 创建应用程序
- Authentik 创建提供程序
- Grafana 配置文件调整
- Kubernetes v1.29.9安装Grafana 12并开启匿名访问
Authentik原生支持Grafana的单点登录,也可以批量划分权限。我这里Grafana是使用Kubernetes 部署的,详细修改配置和Docker部署相同,需要注意的地方我会整理出来
Grafana
Grafana 是一款多平台开源分析和交互式可视化 Web 应用程序。连接到支持的数据源后,它能够提供 Web 图表、图形和警报。此外,Grafana Enterprise 版本还提供了更多功能。它可通过插件系统进行扩展。
Authentik
authentik 是一个 IdP(身份提供者)和 SSO(单点登录)平台,其每段代码、每个功能都以安全性为首要考虑,并强调灵活性和多功能性。
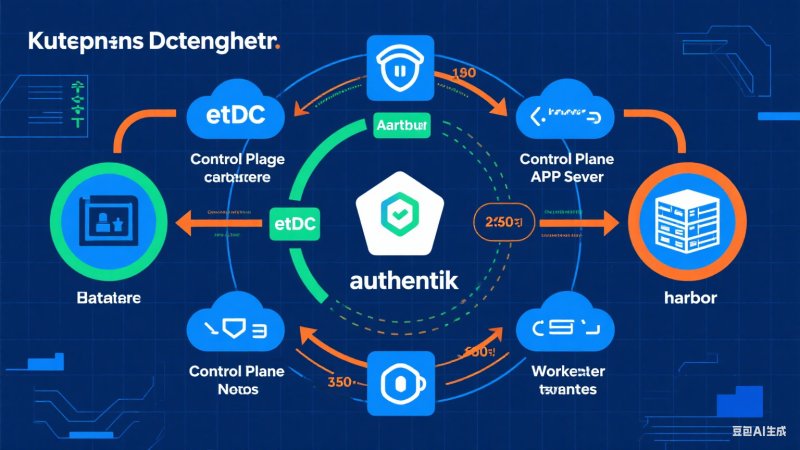
Authentik部署文档可参考下面的文档
https://i4t.com/25733.htmljavascript:void(0))
Kubernetes v1.29.9部署Authentik 统一认证平台并接入Harbor
 新闻联播老司机
- 25年10月13日
- 喜欢:0
- 浏览:719
Authentik 创建应用程序
登录Authentik 后台,选择
Application 创建应用程序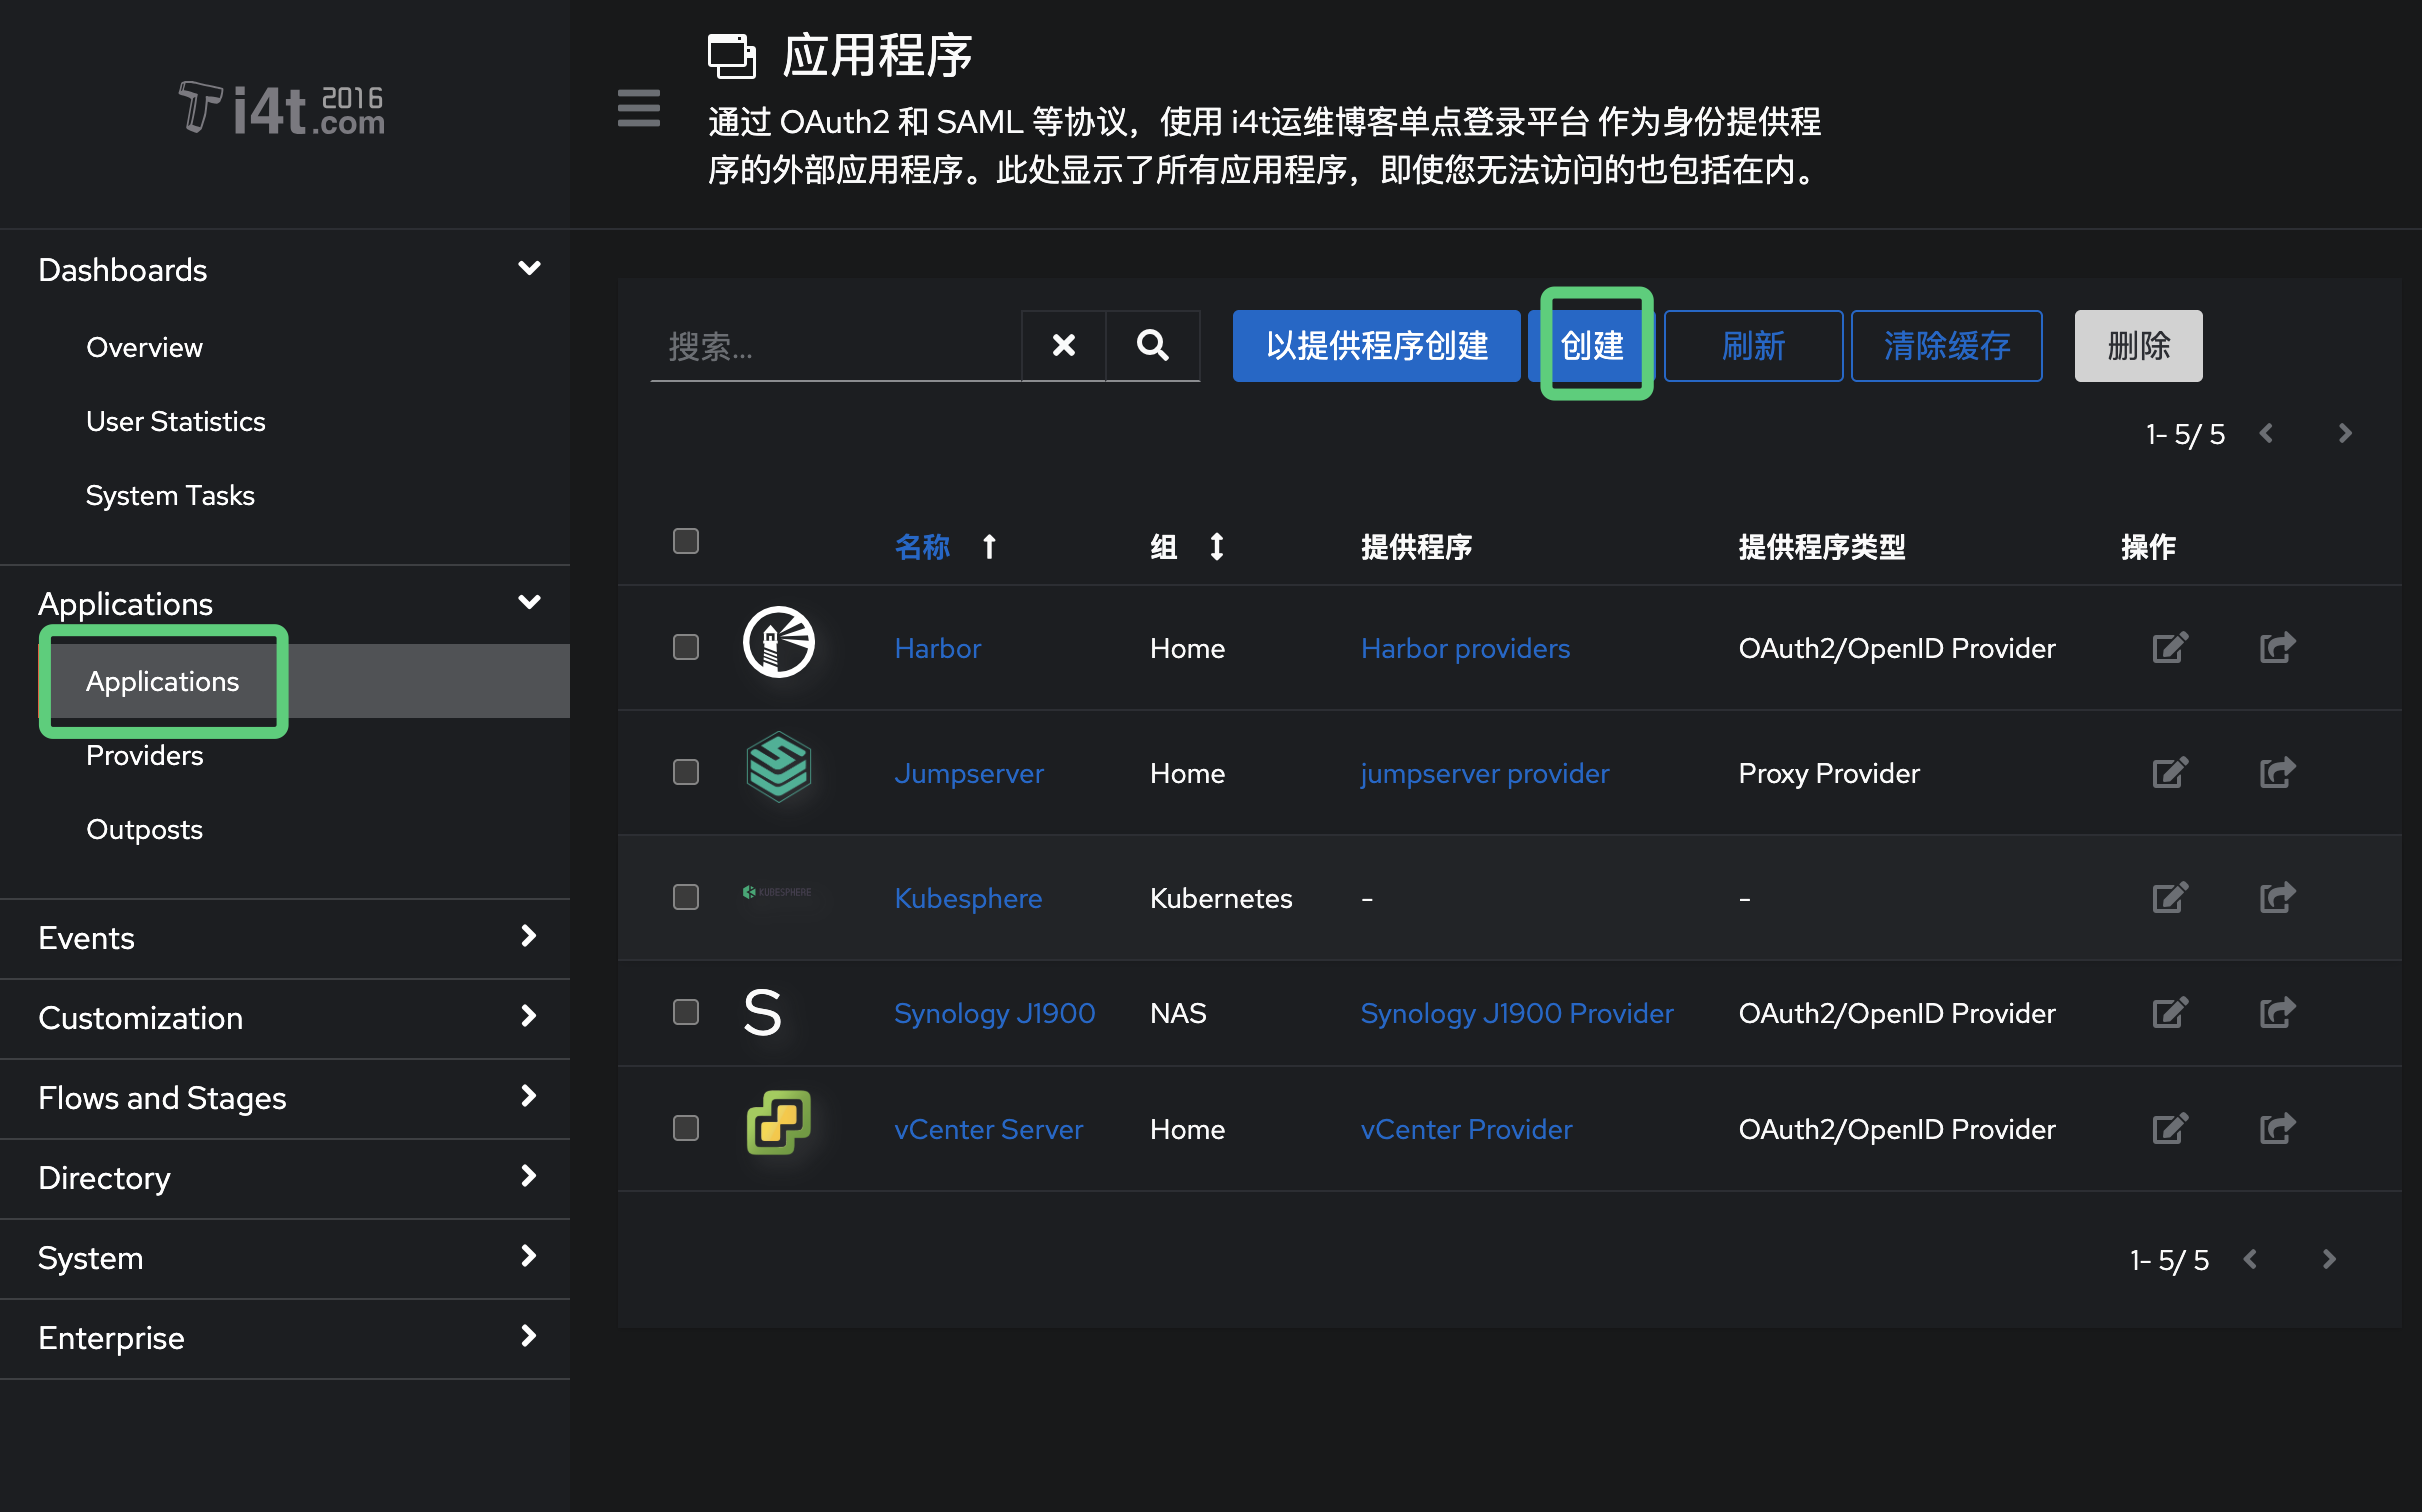
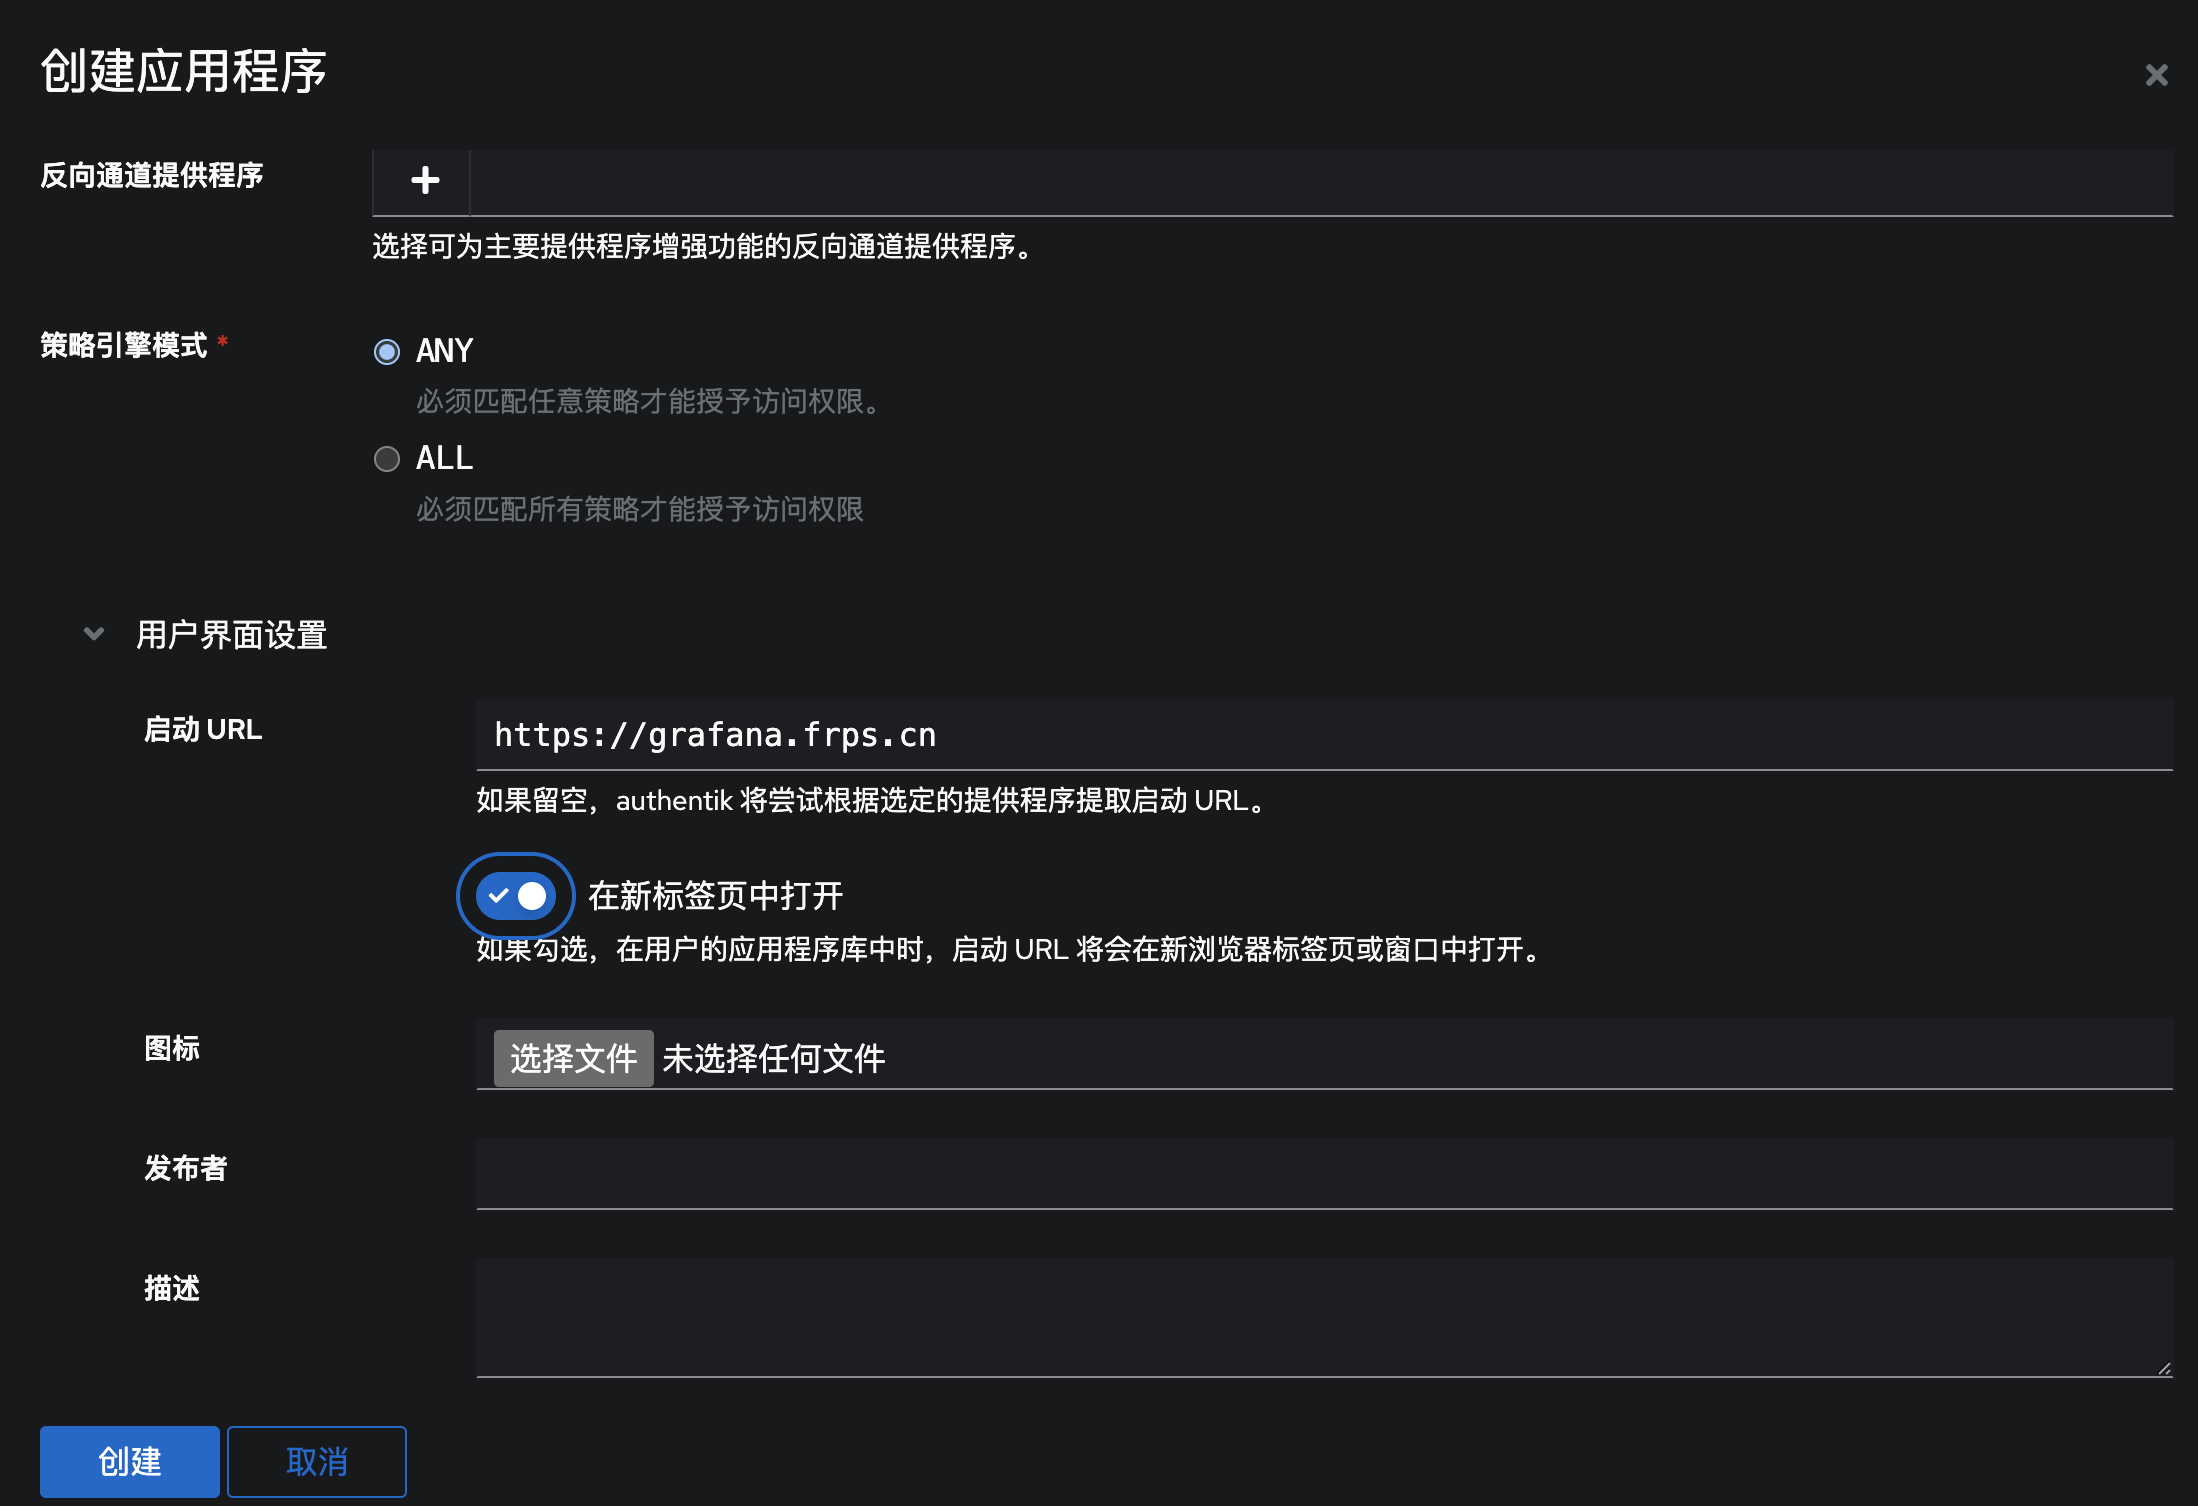
应用程序名称我这里设置为Grafana
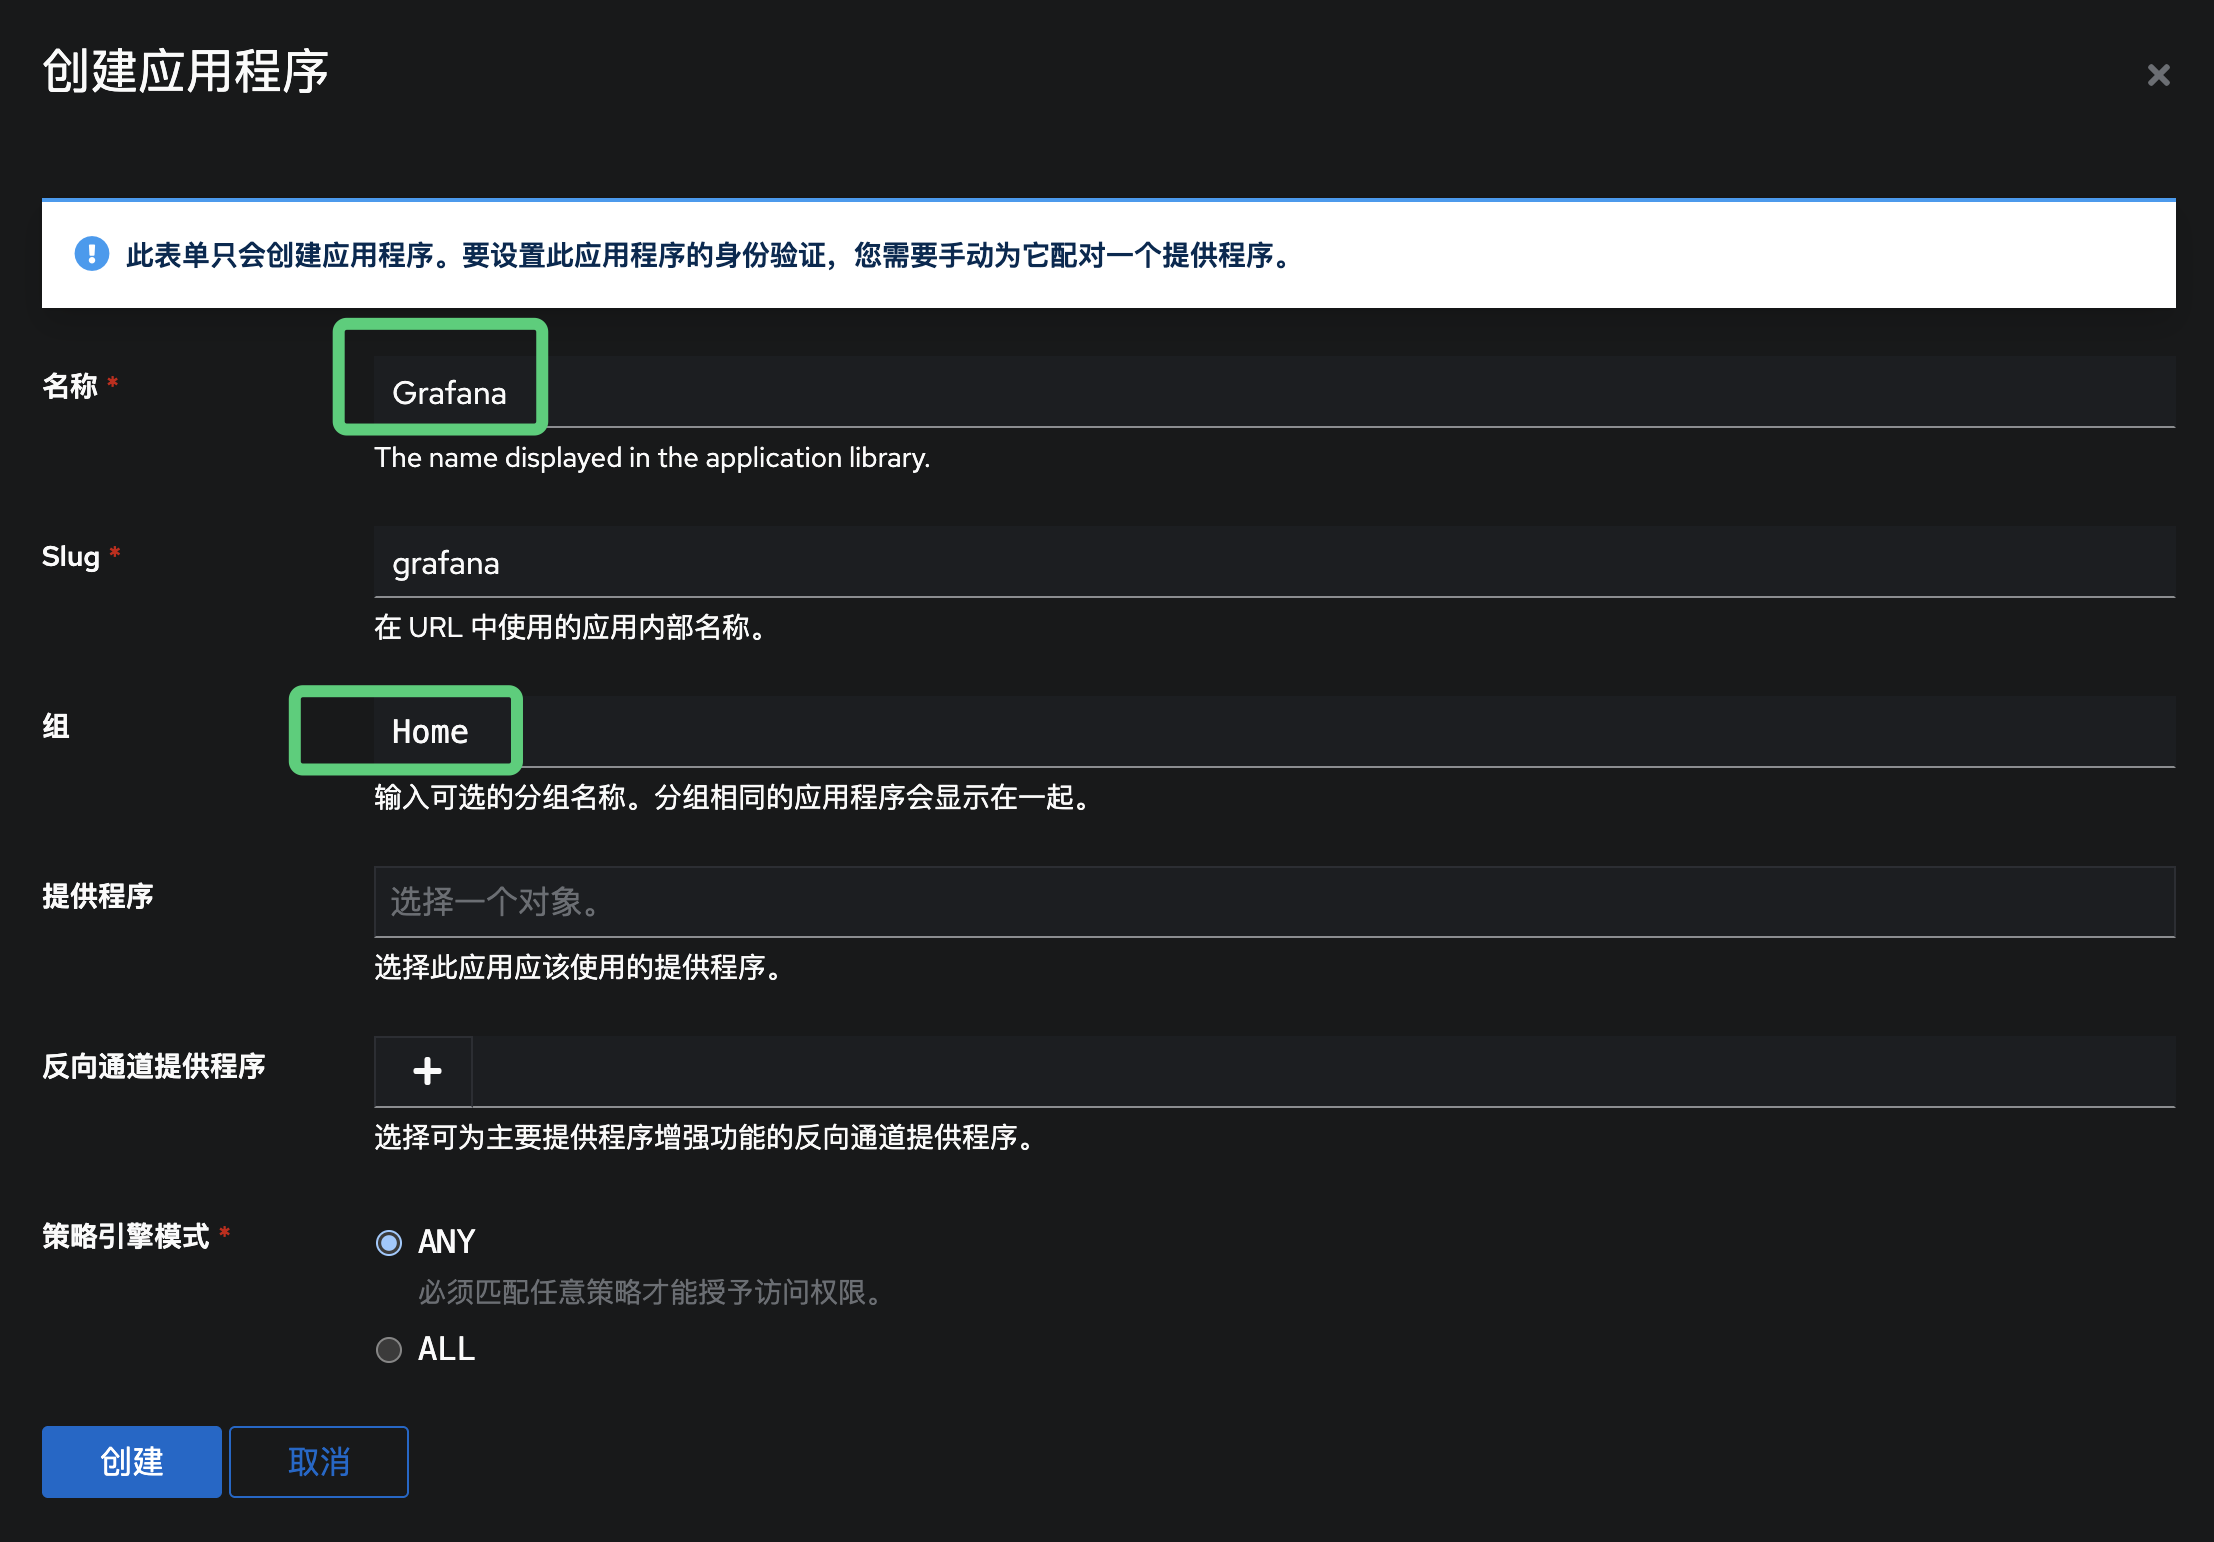
可以配置一个启动URL,也可以不配置,这里可选
Authentik 创建提供程序
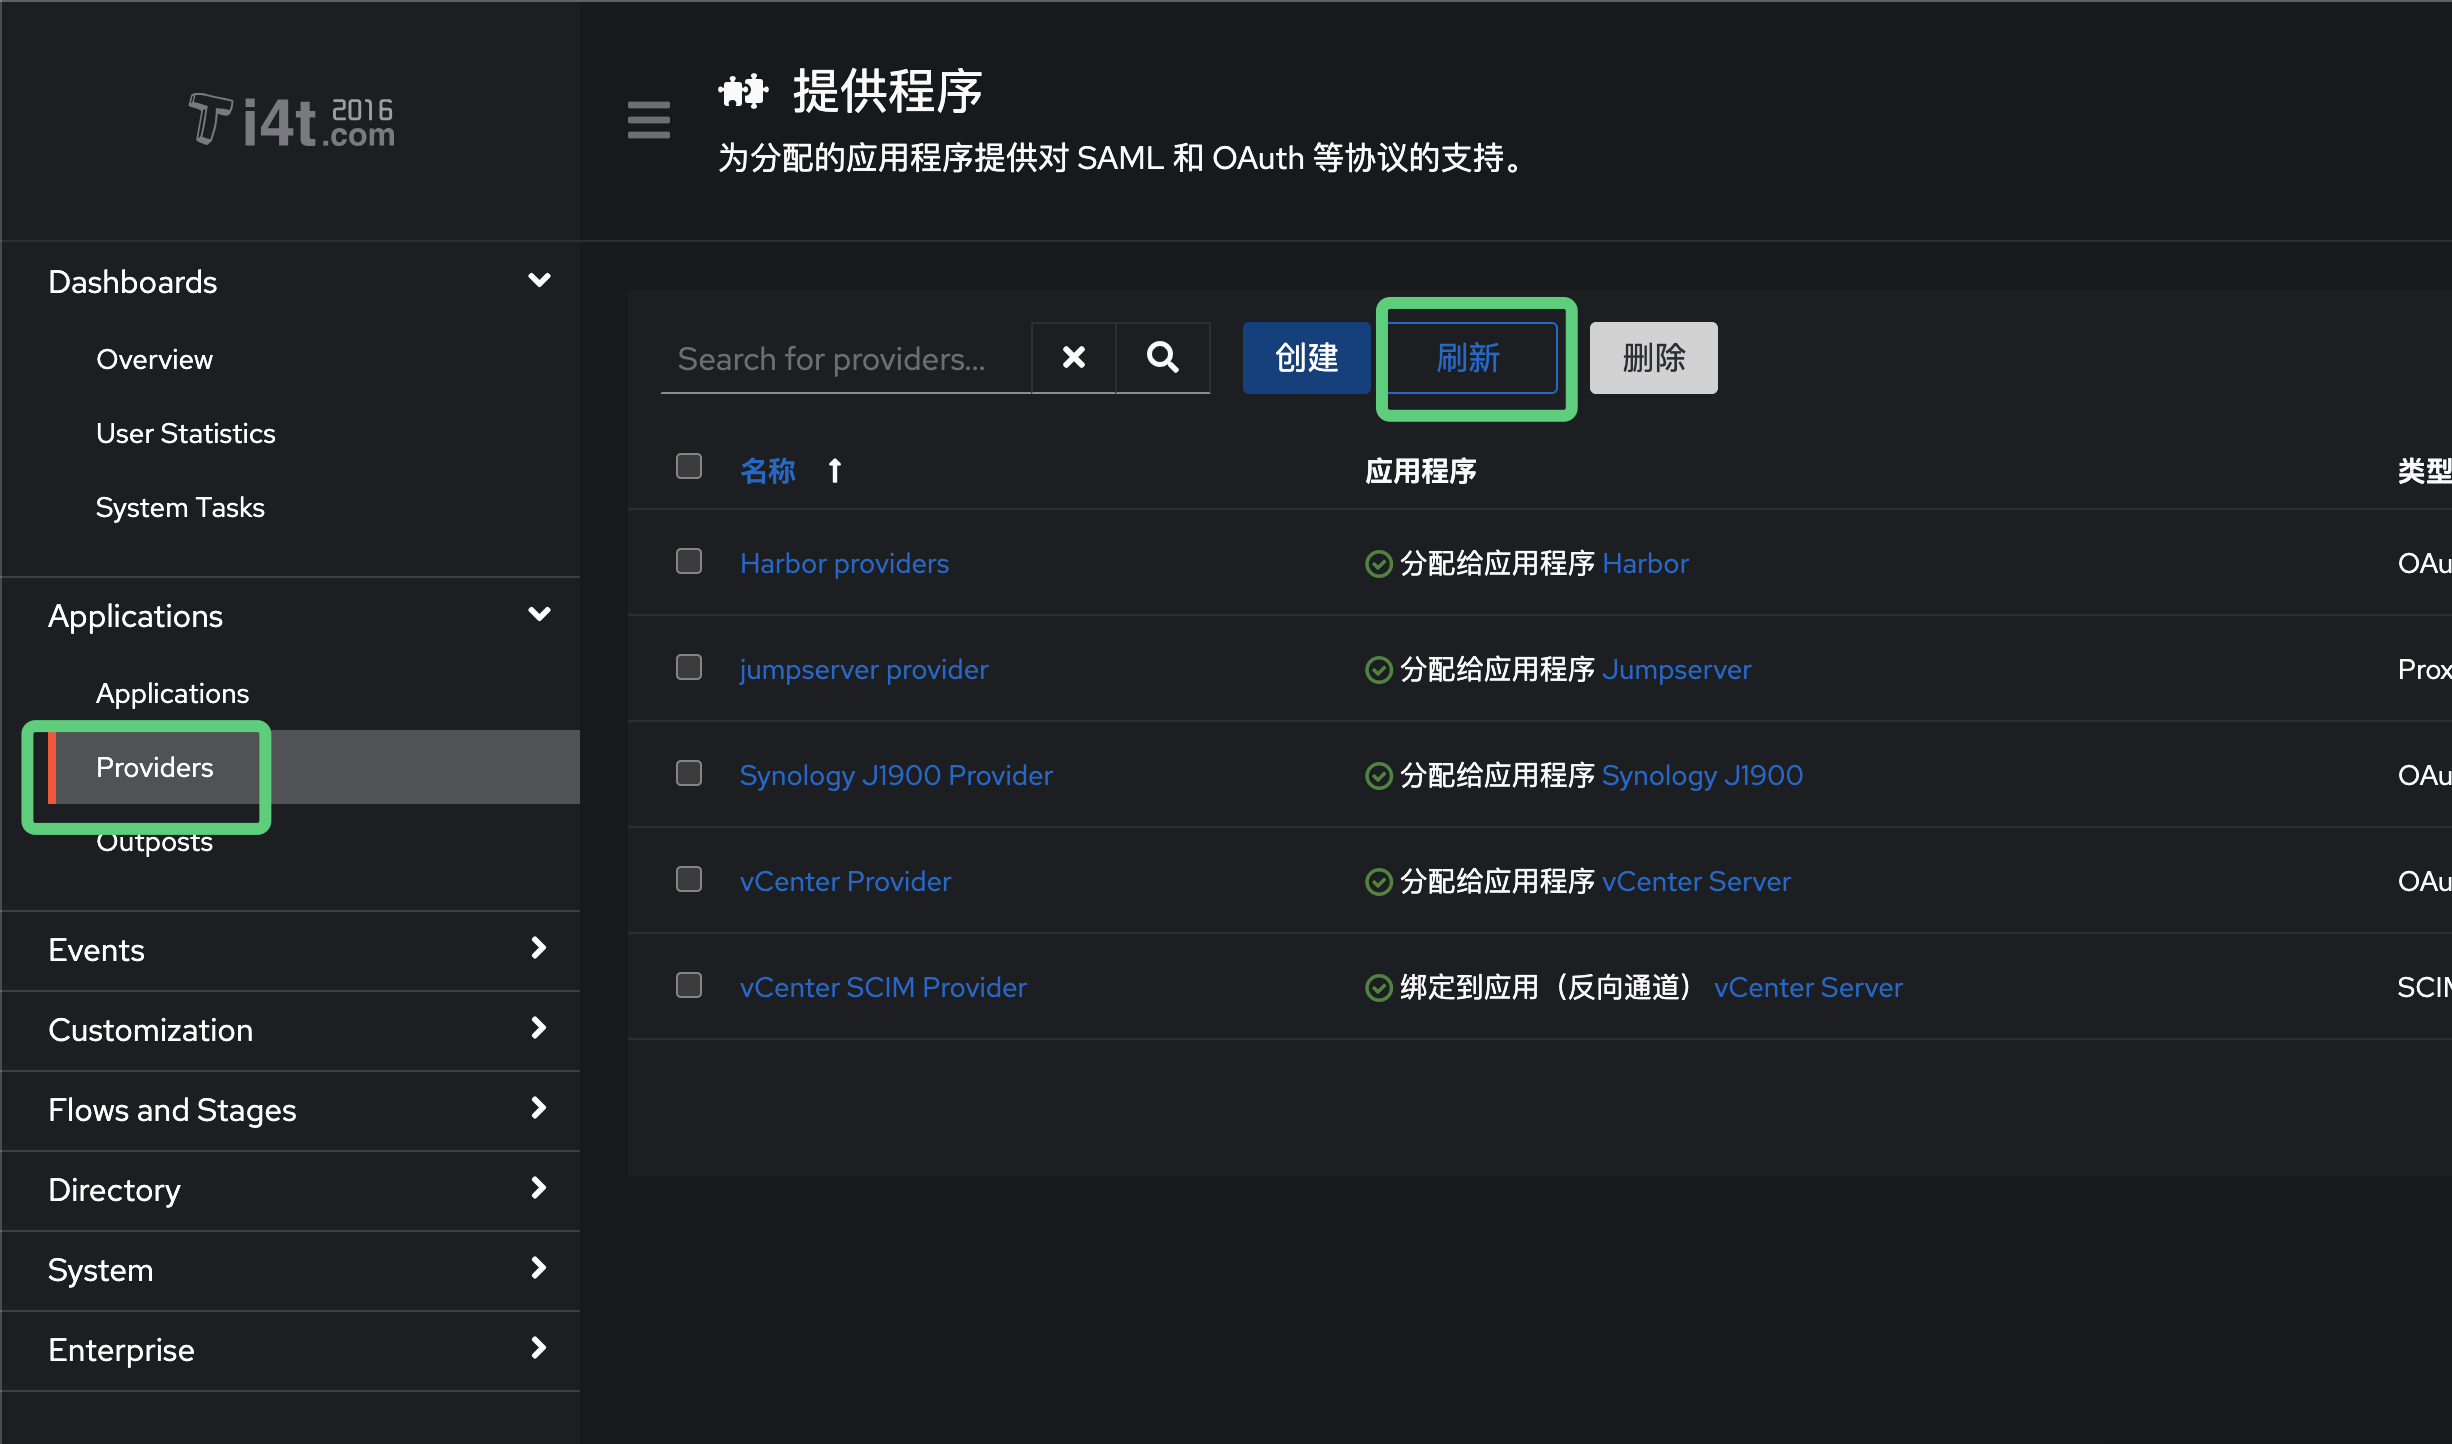
创建提供程序
认证方式选择
OAuth2/OpenID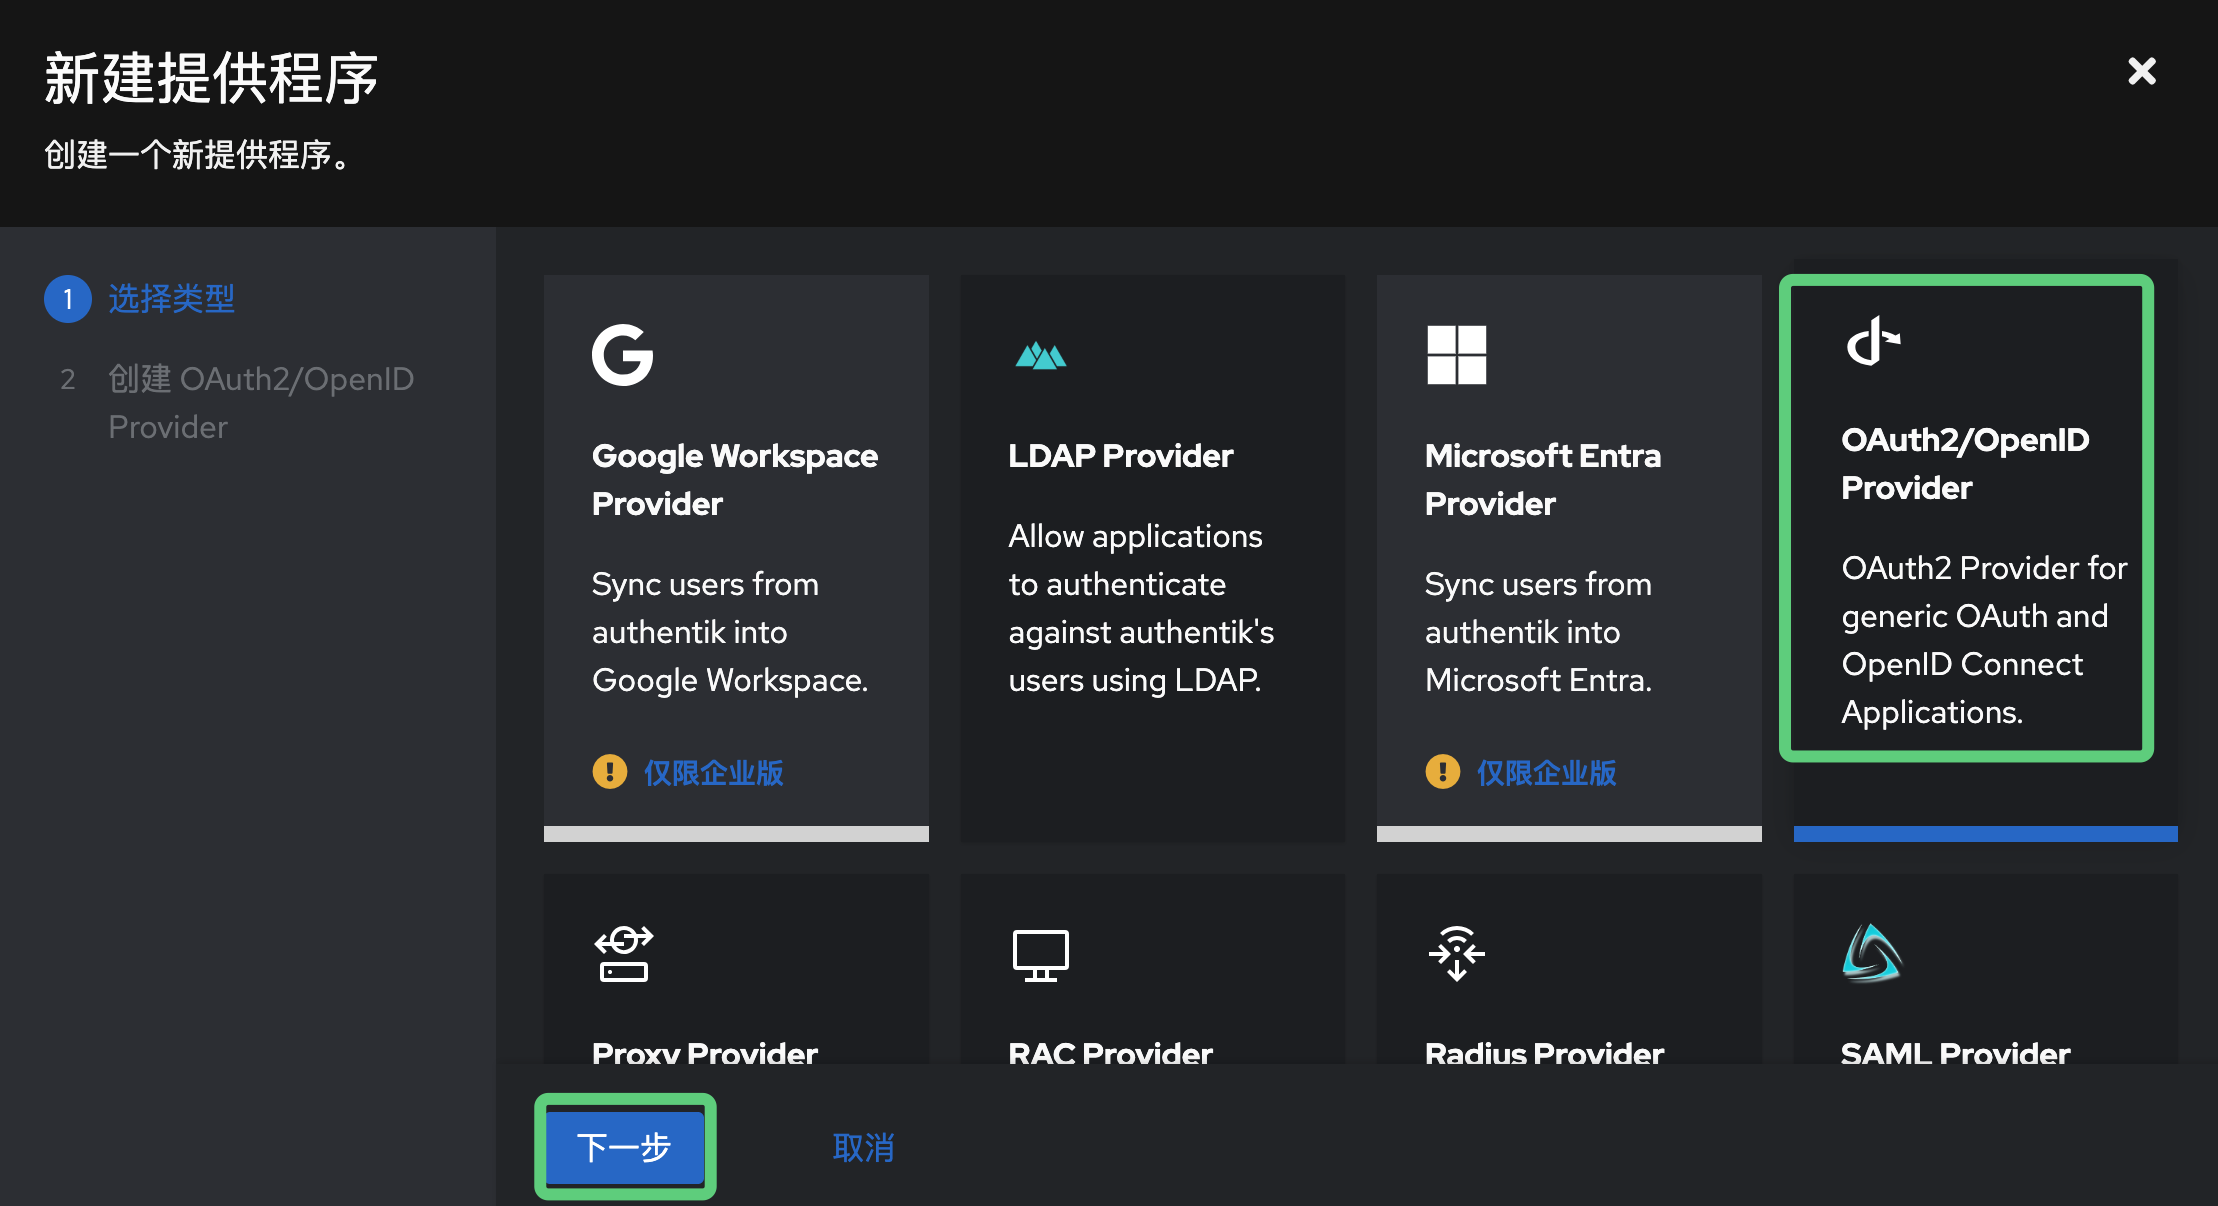
这里创建一个名称,后续为应用程序绑定
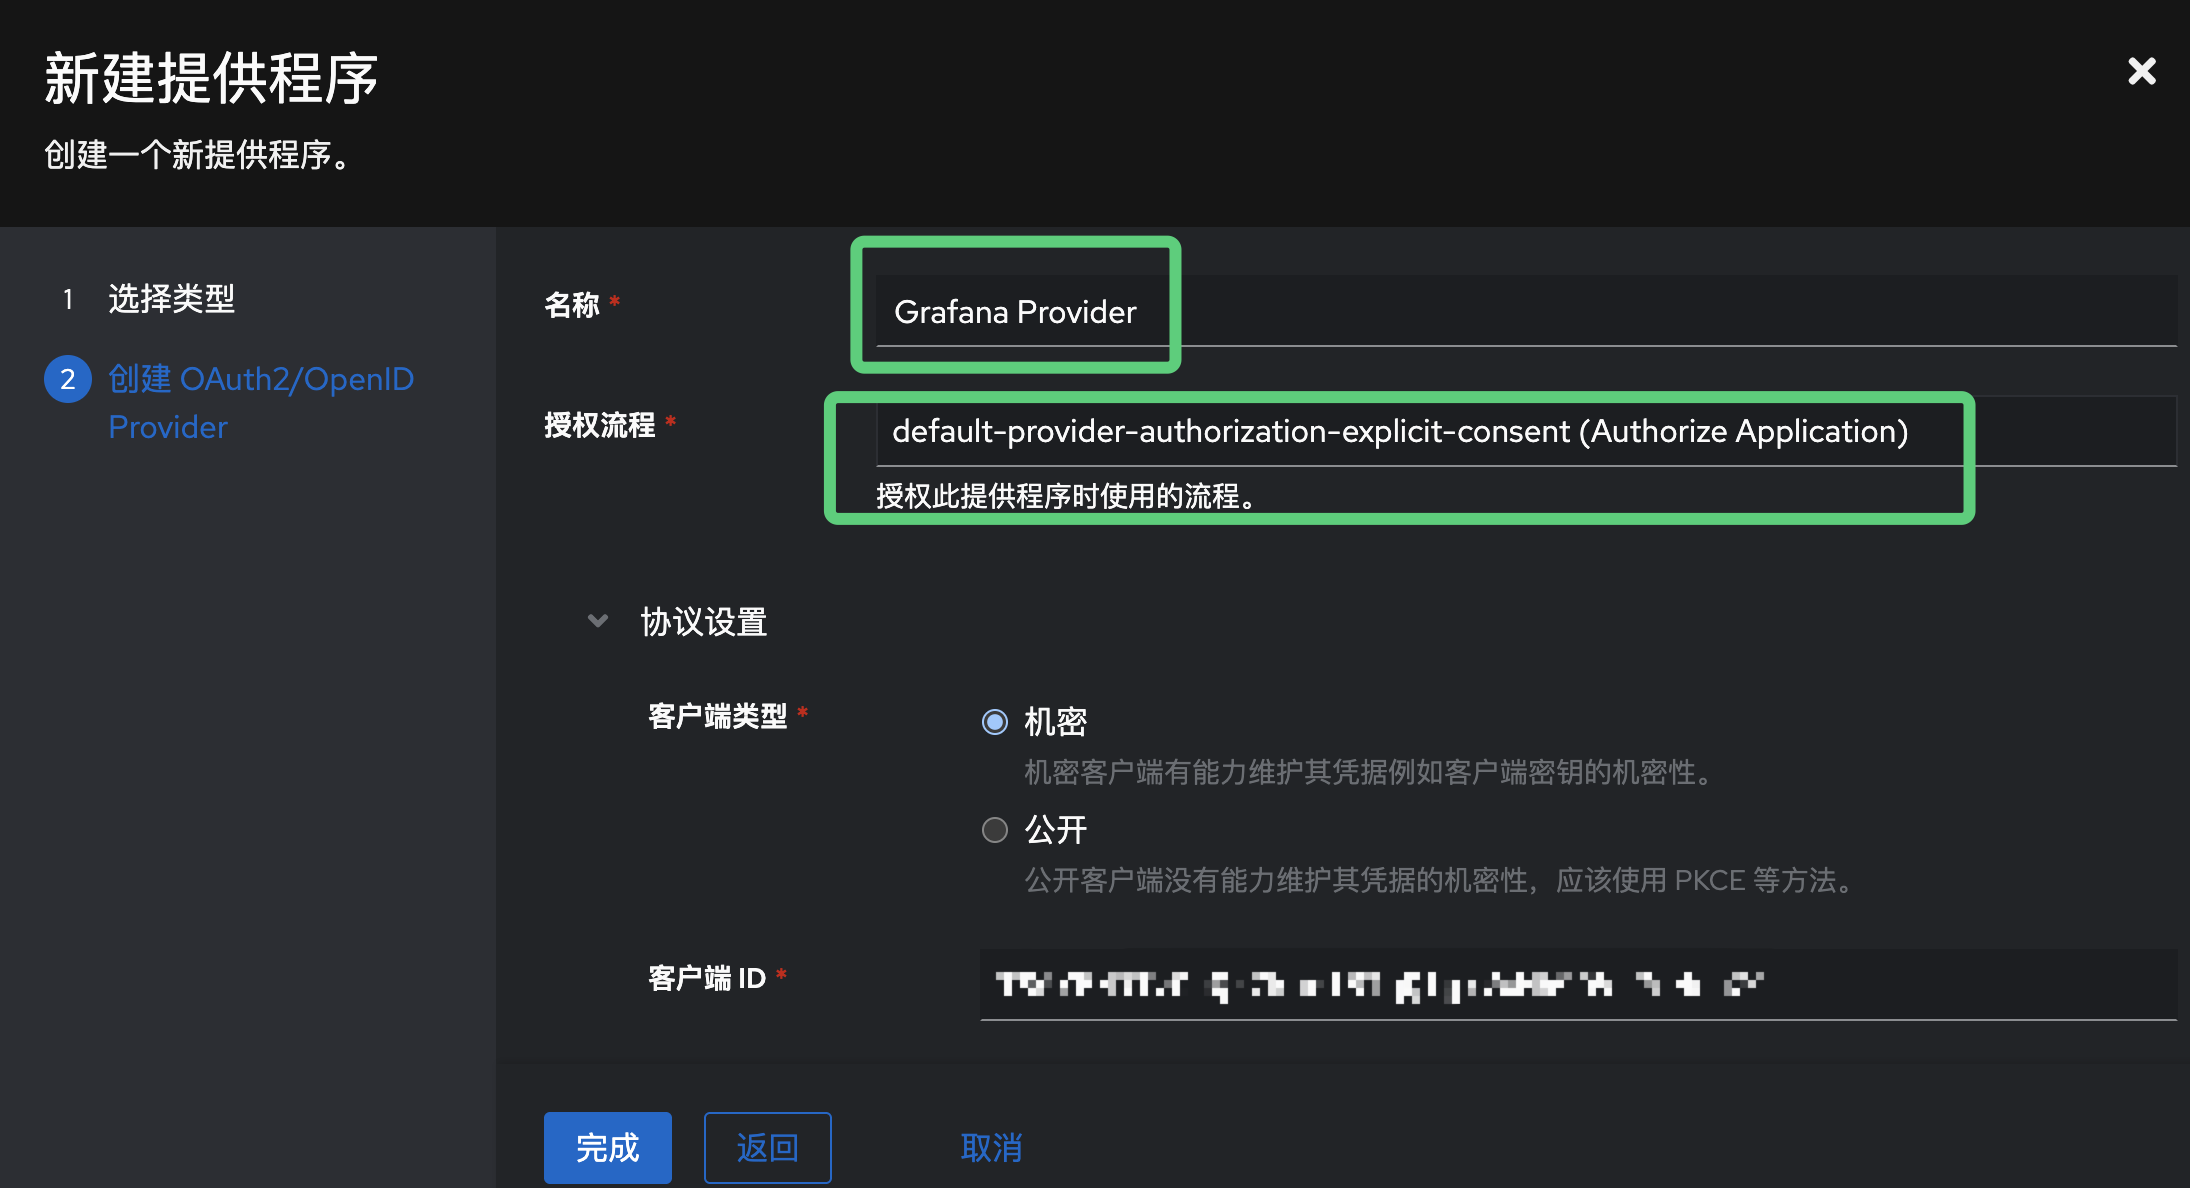
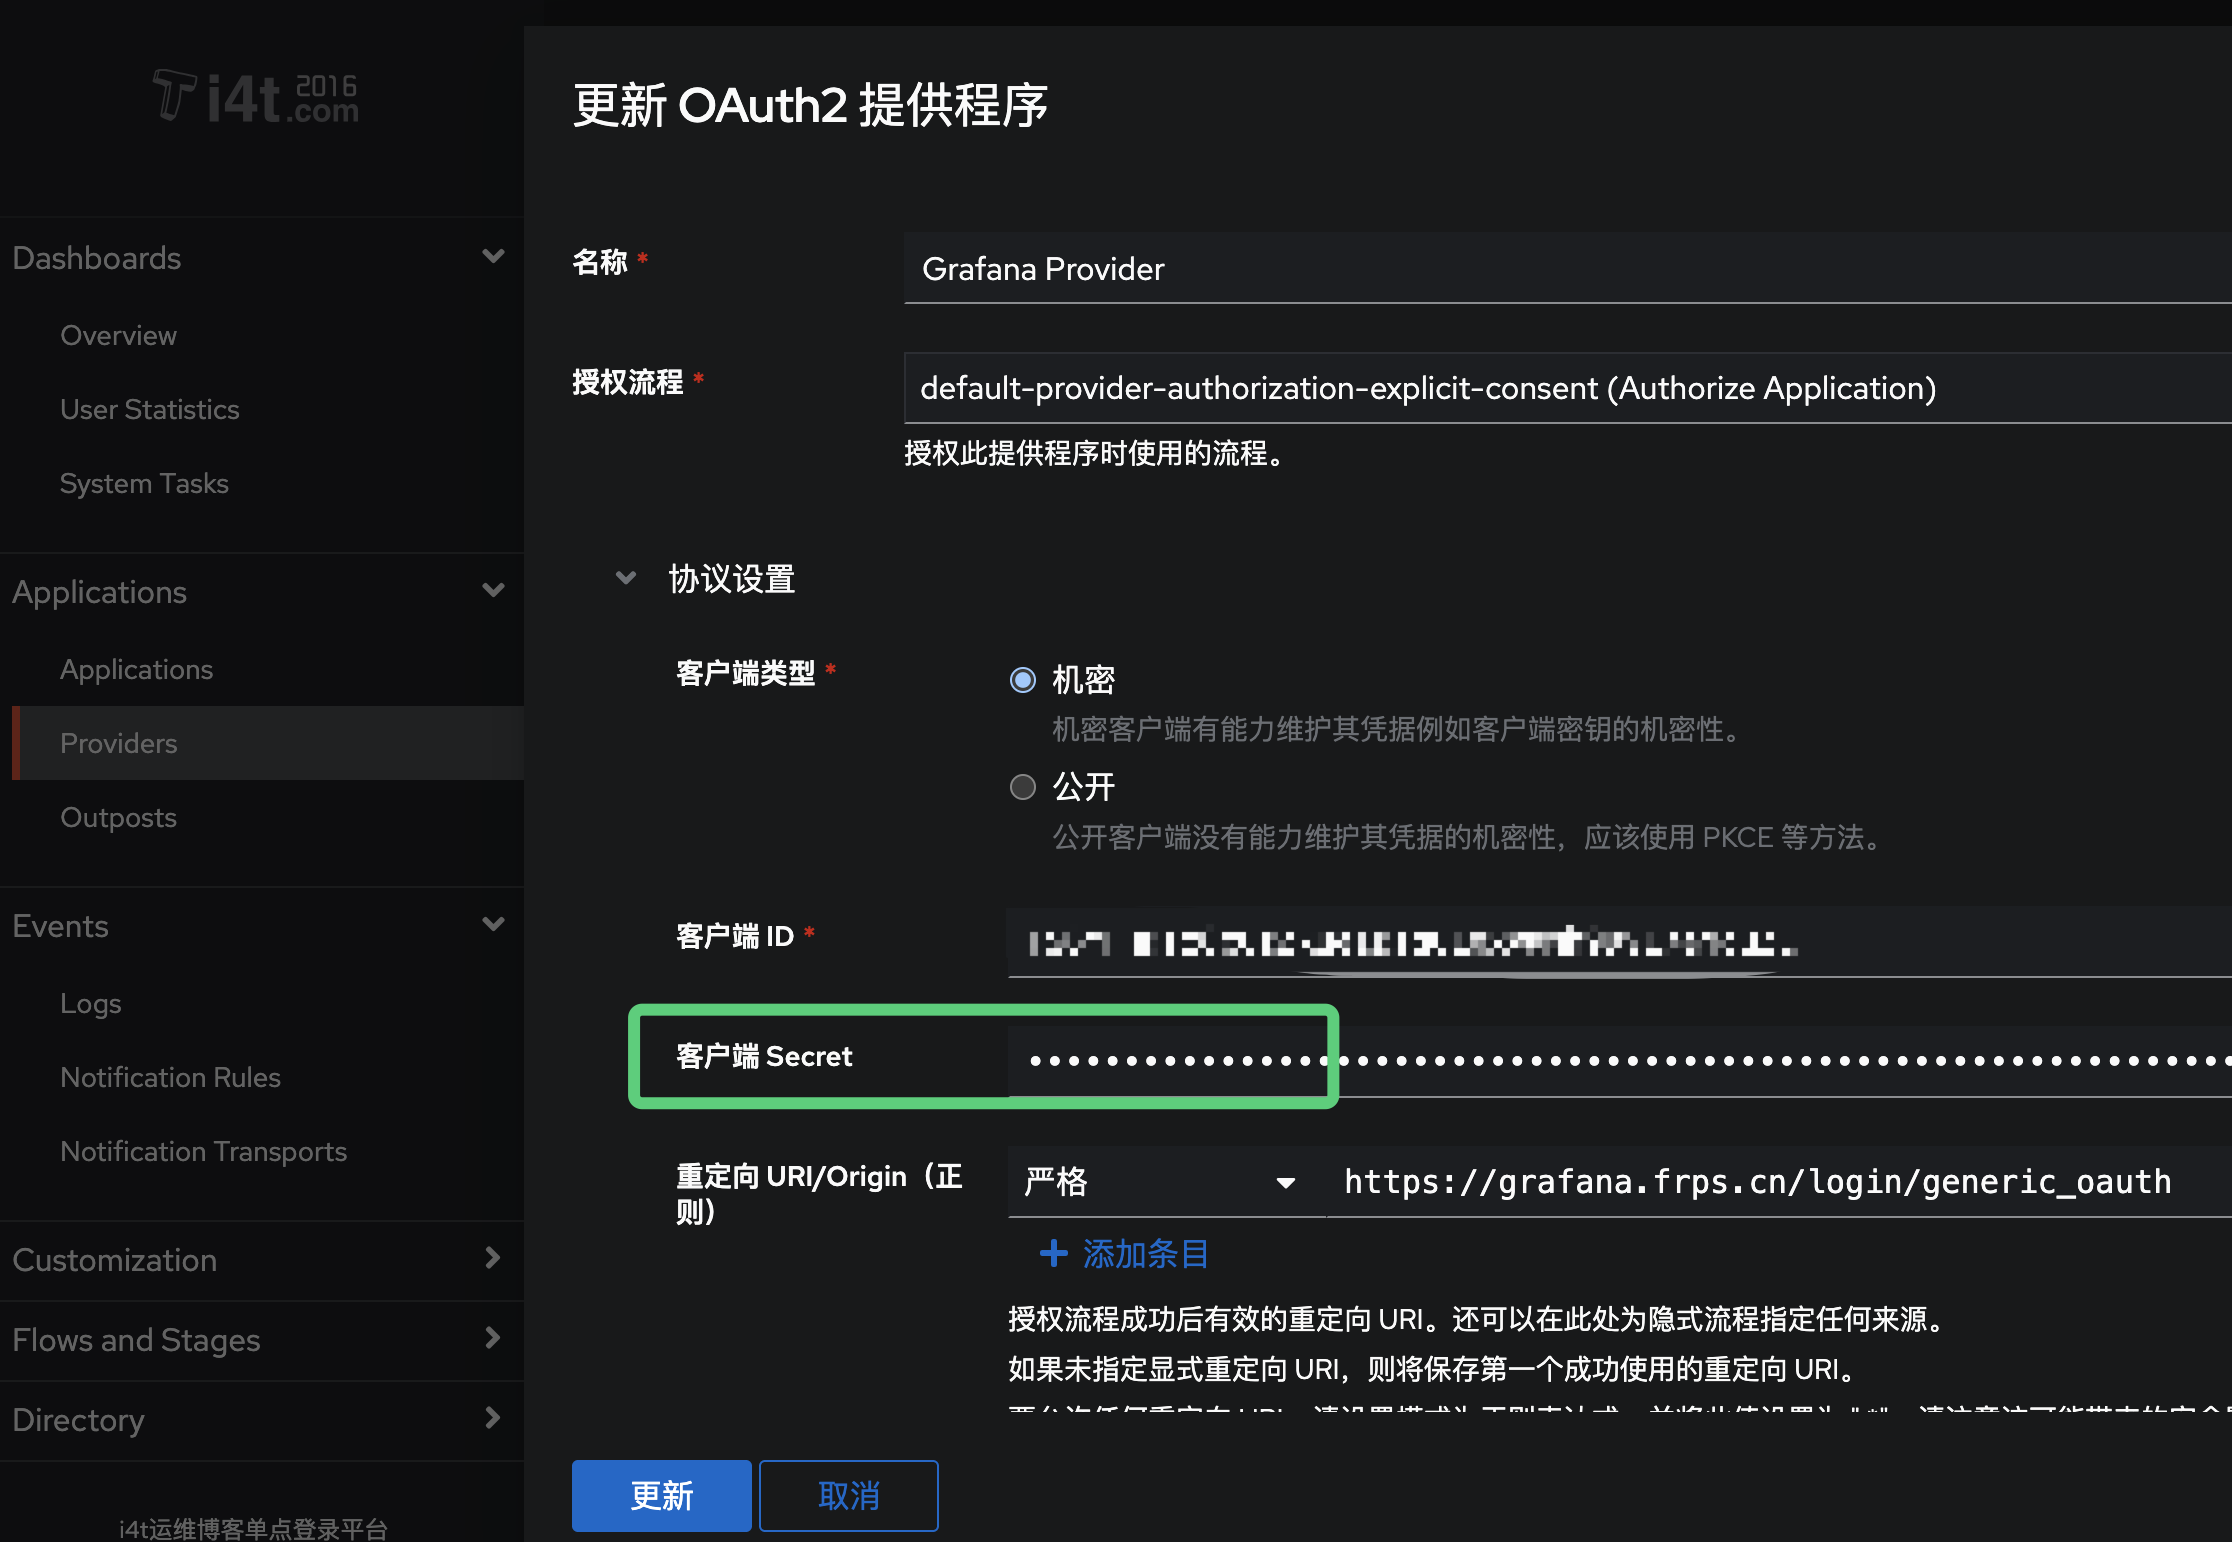
重定向地址需要写Grafana的地址
- https://grafana.company/login/generic_oauth
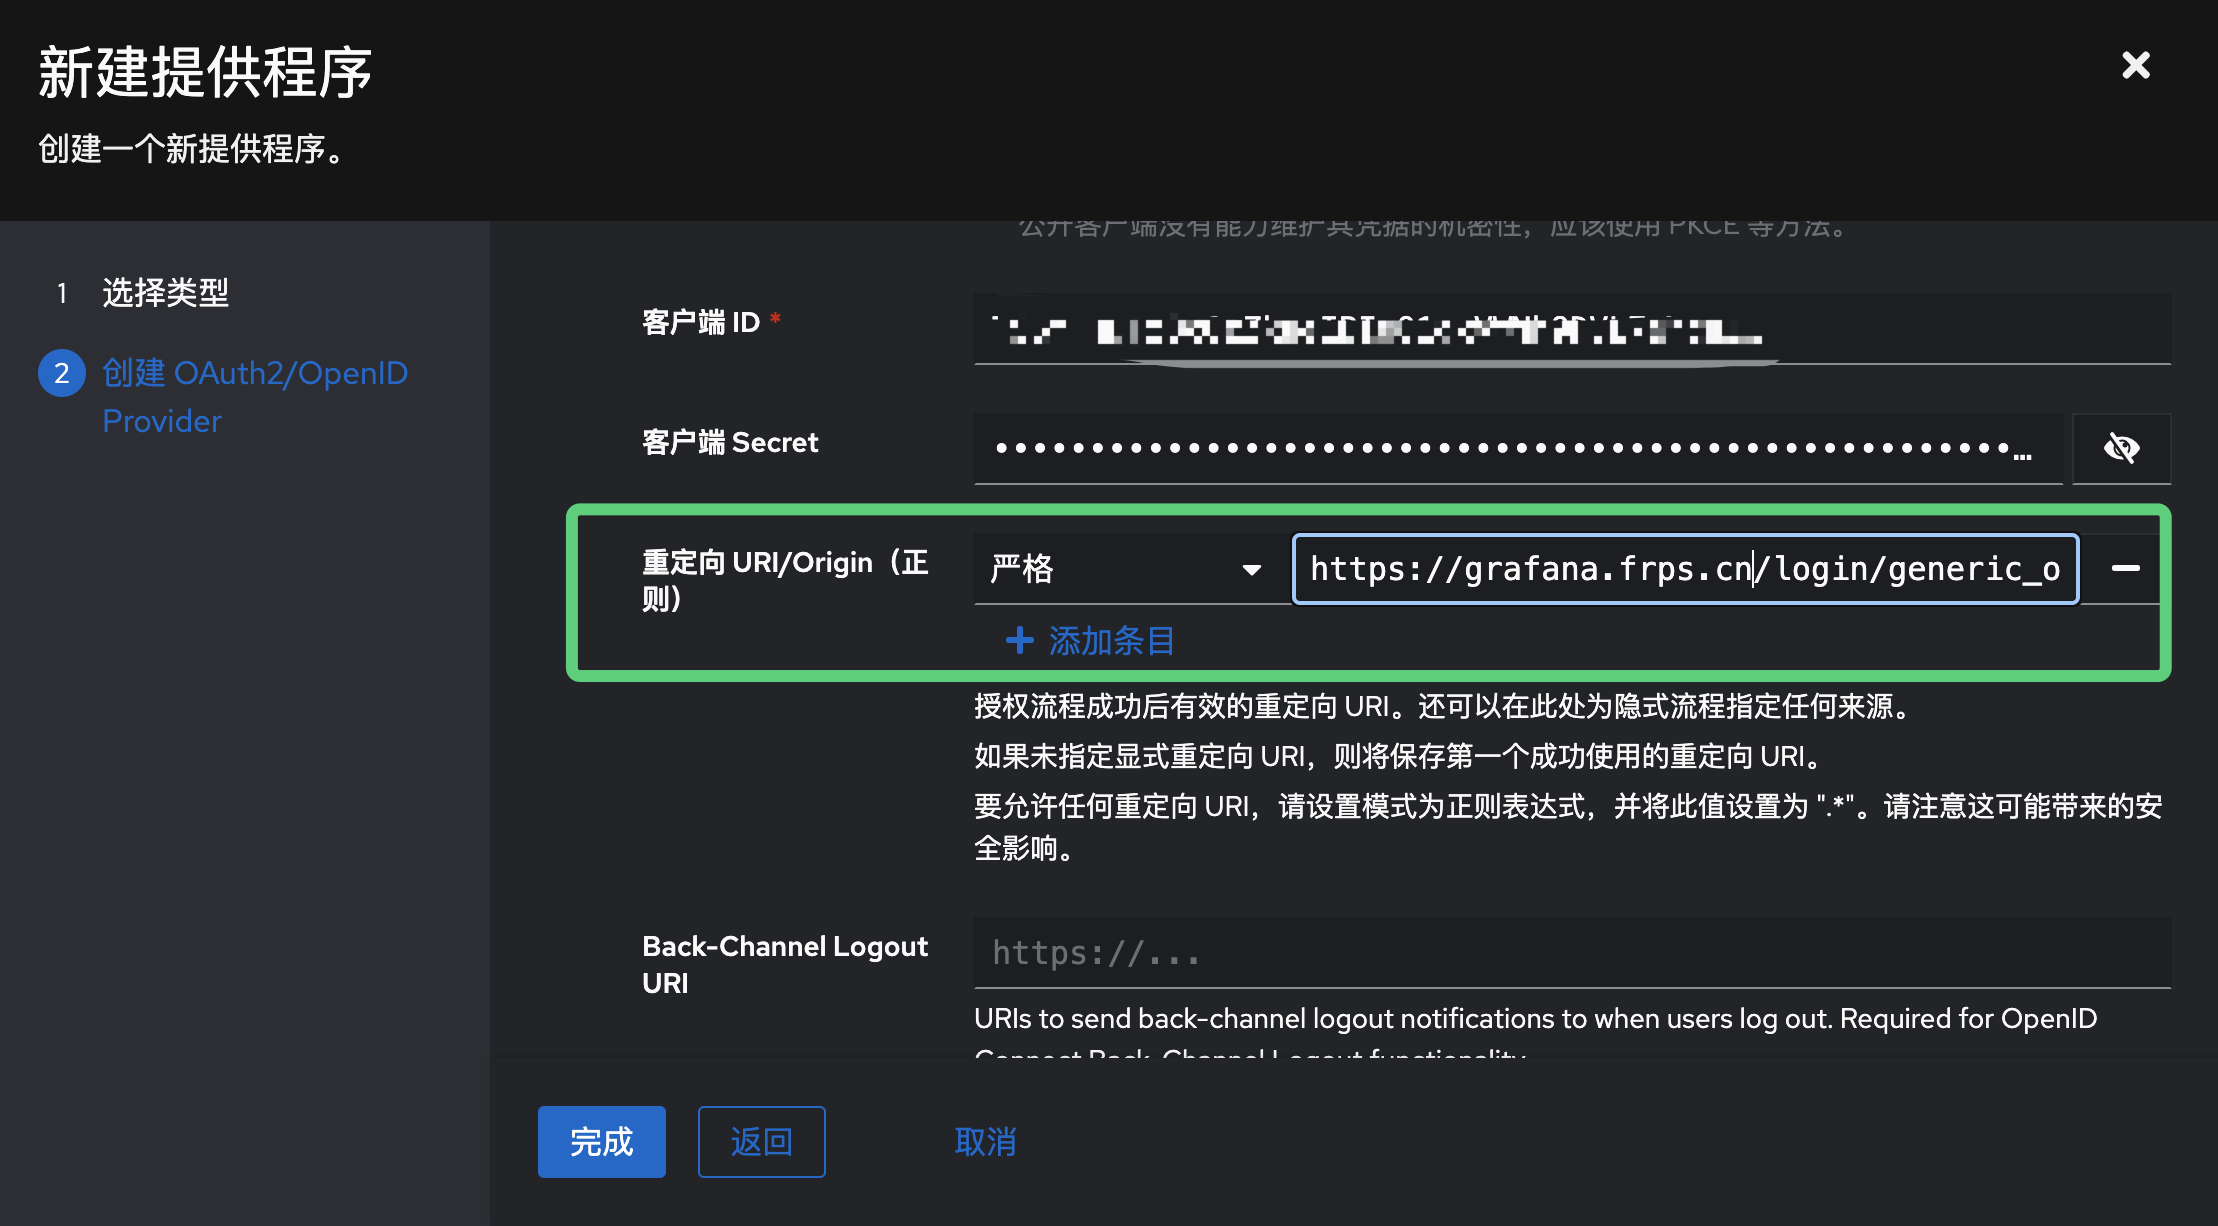
创建好暂时是无法使用的,需要关联Grafana应用程序
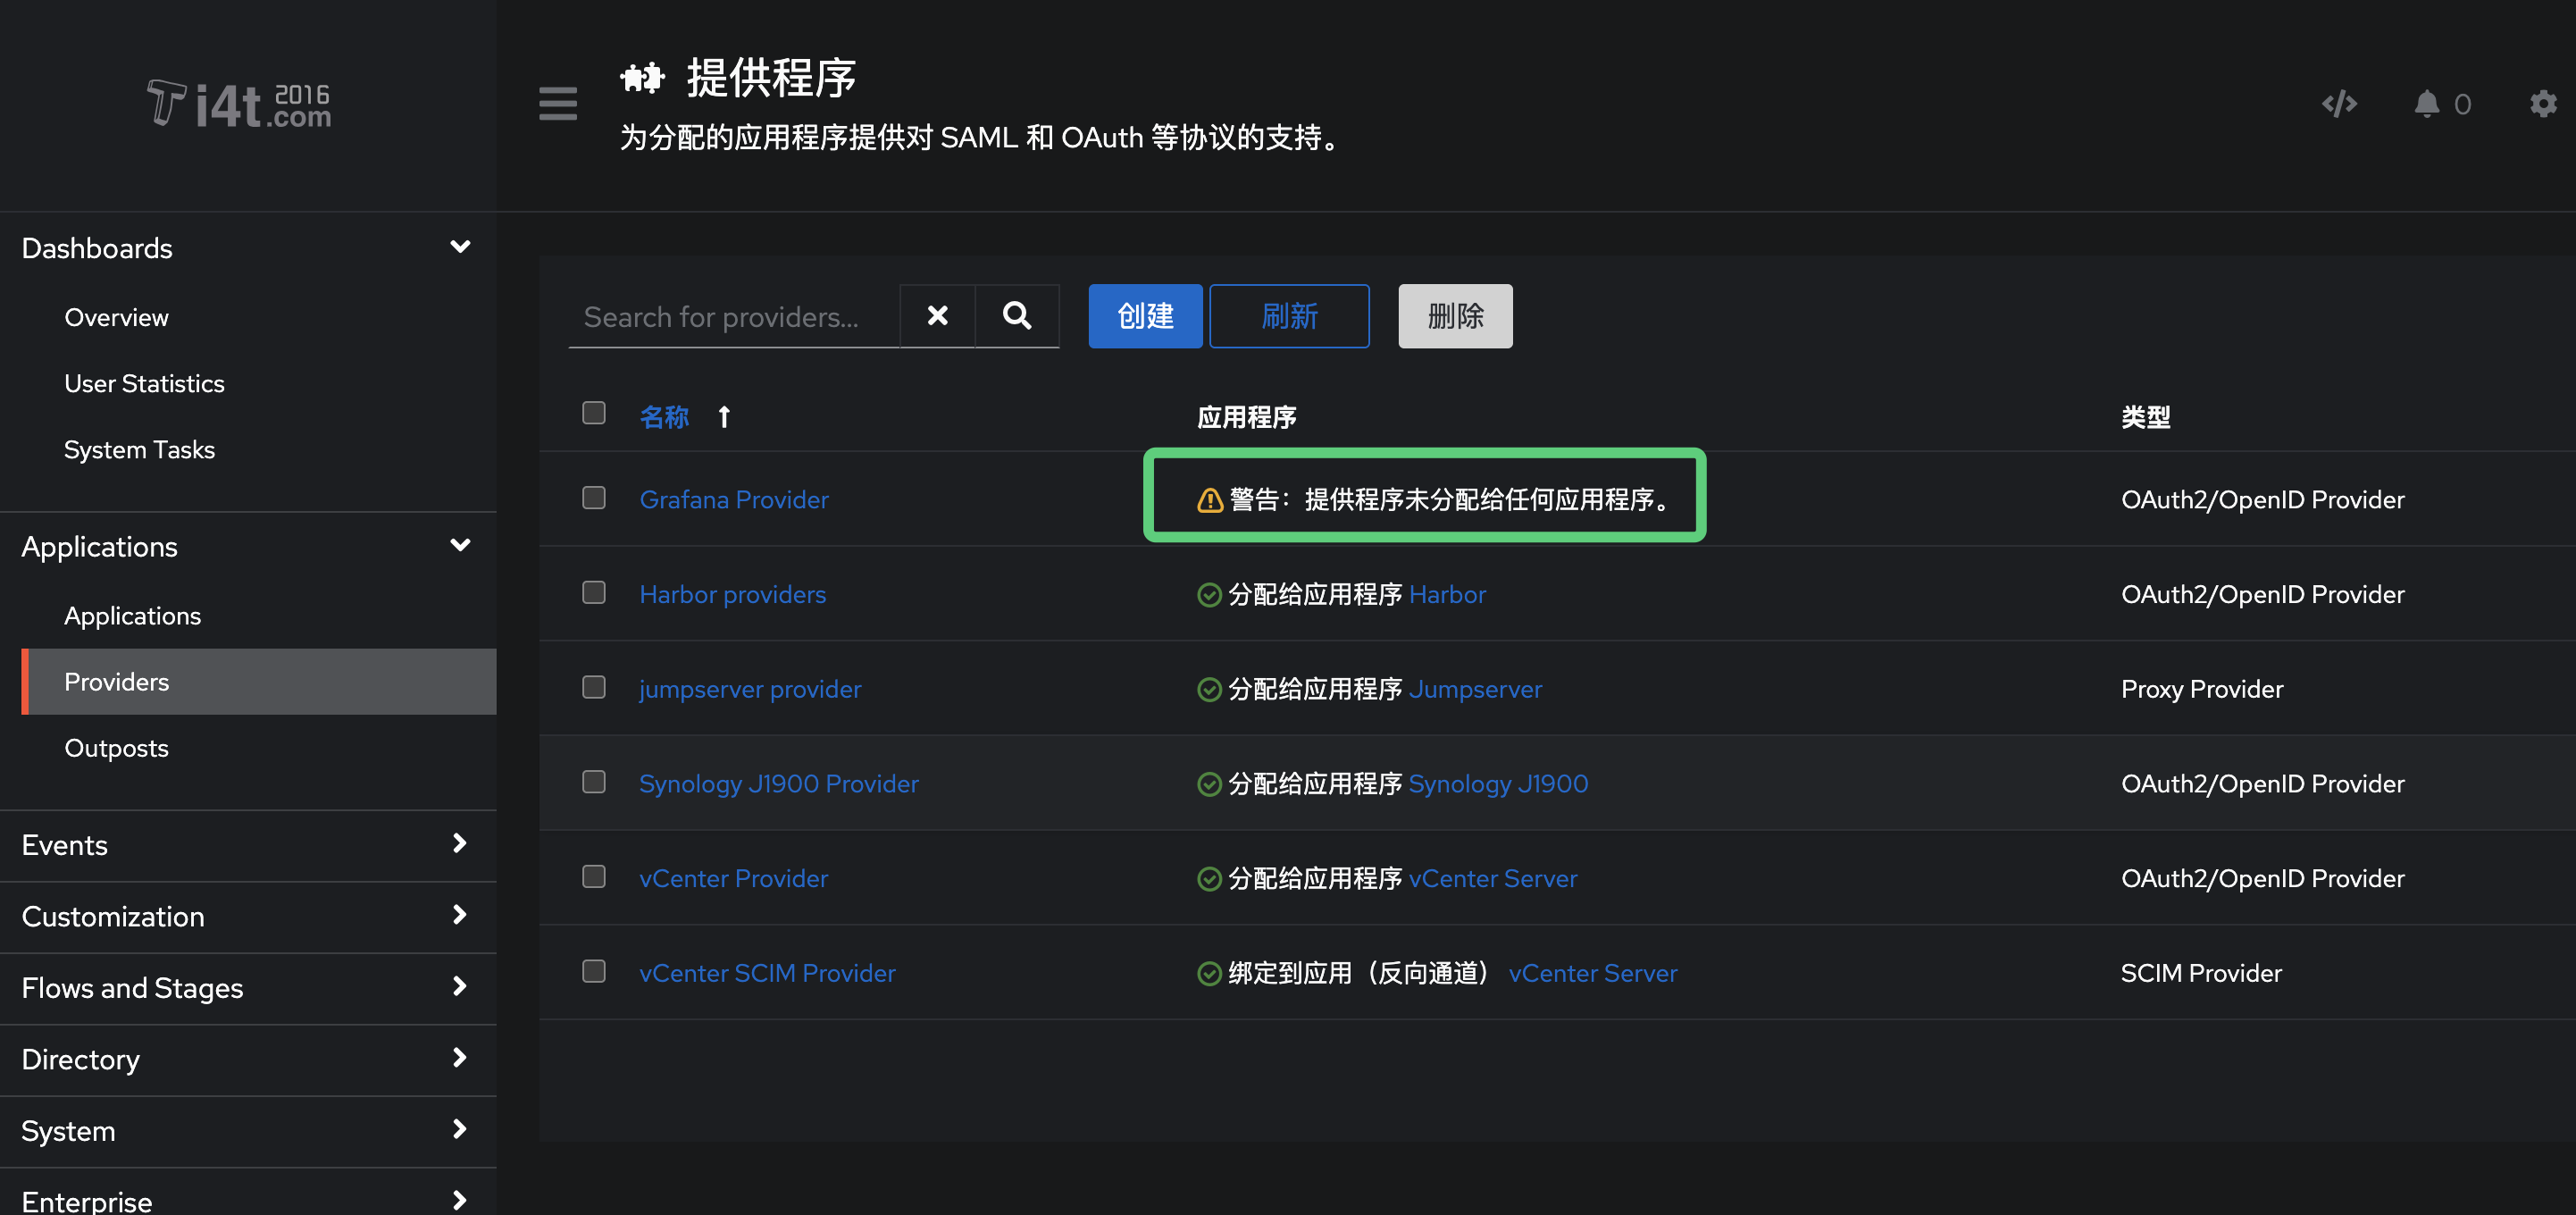
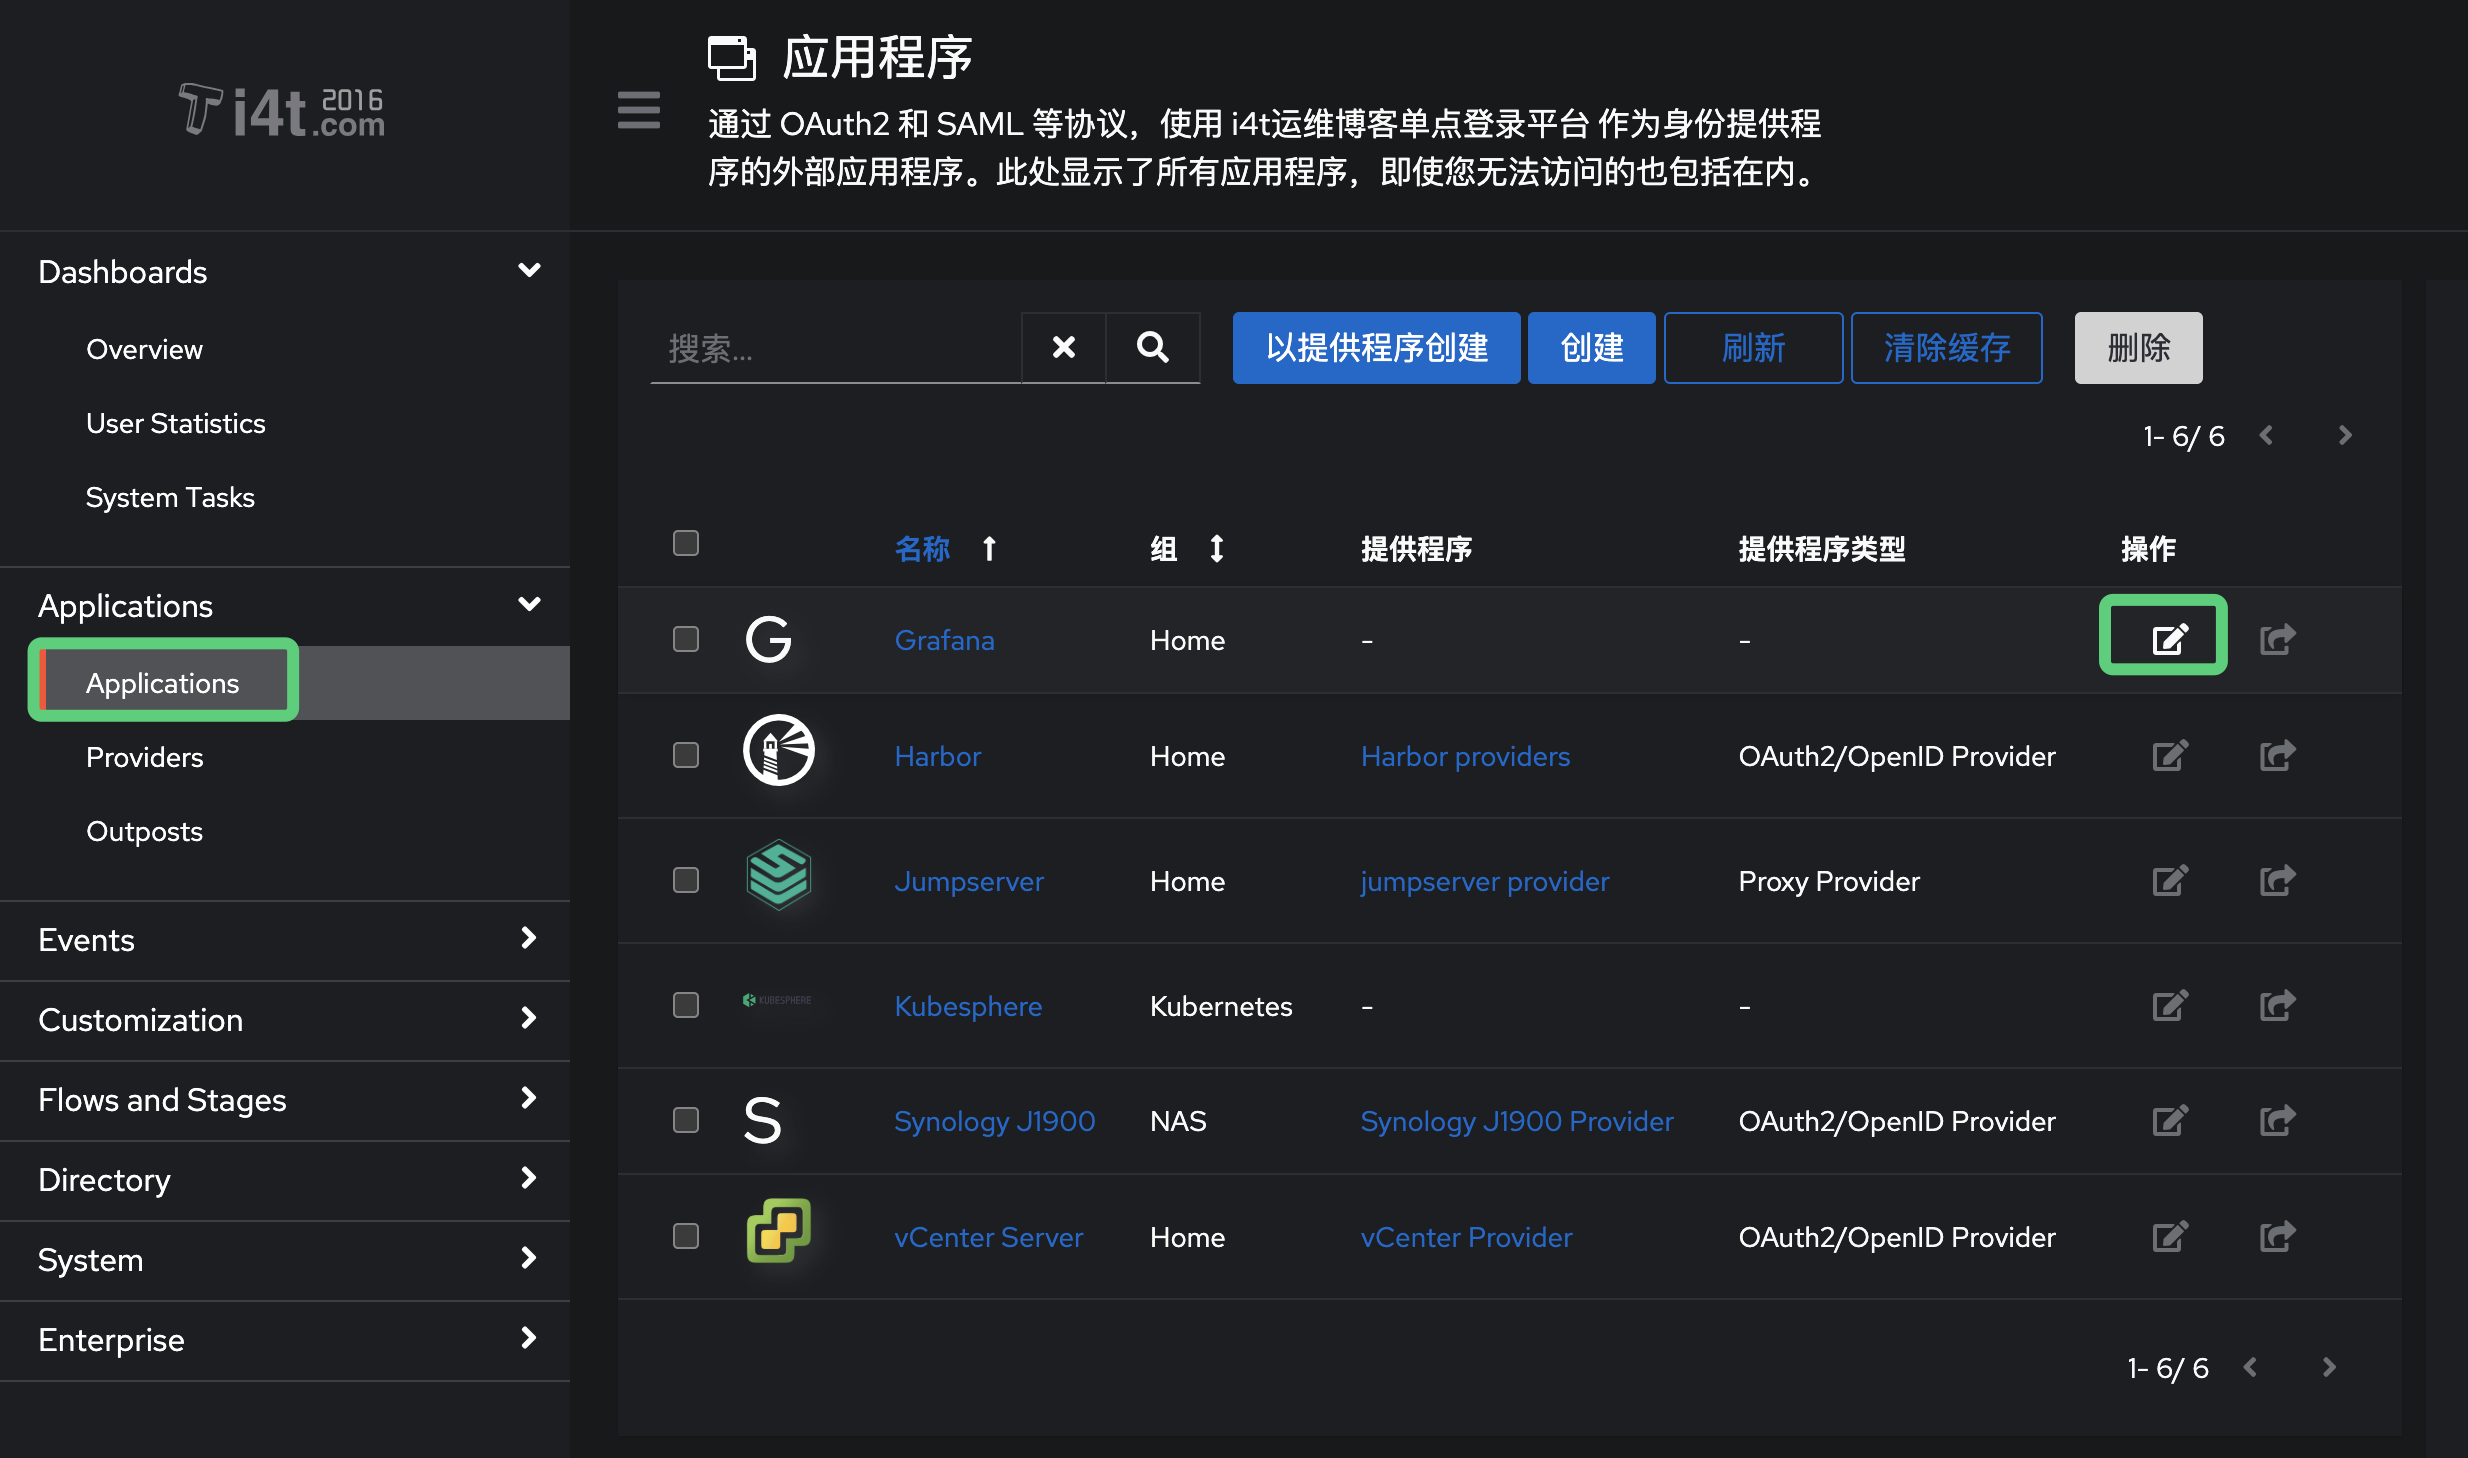
到Grafana应用程序中,选择绑定
到提供程序中,记录以下配置
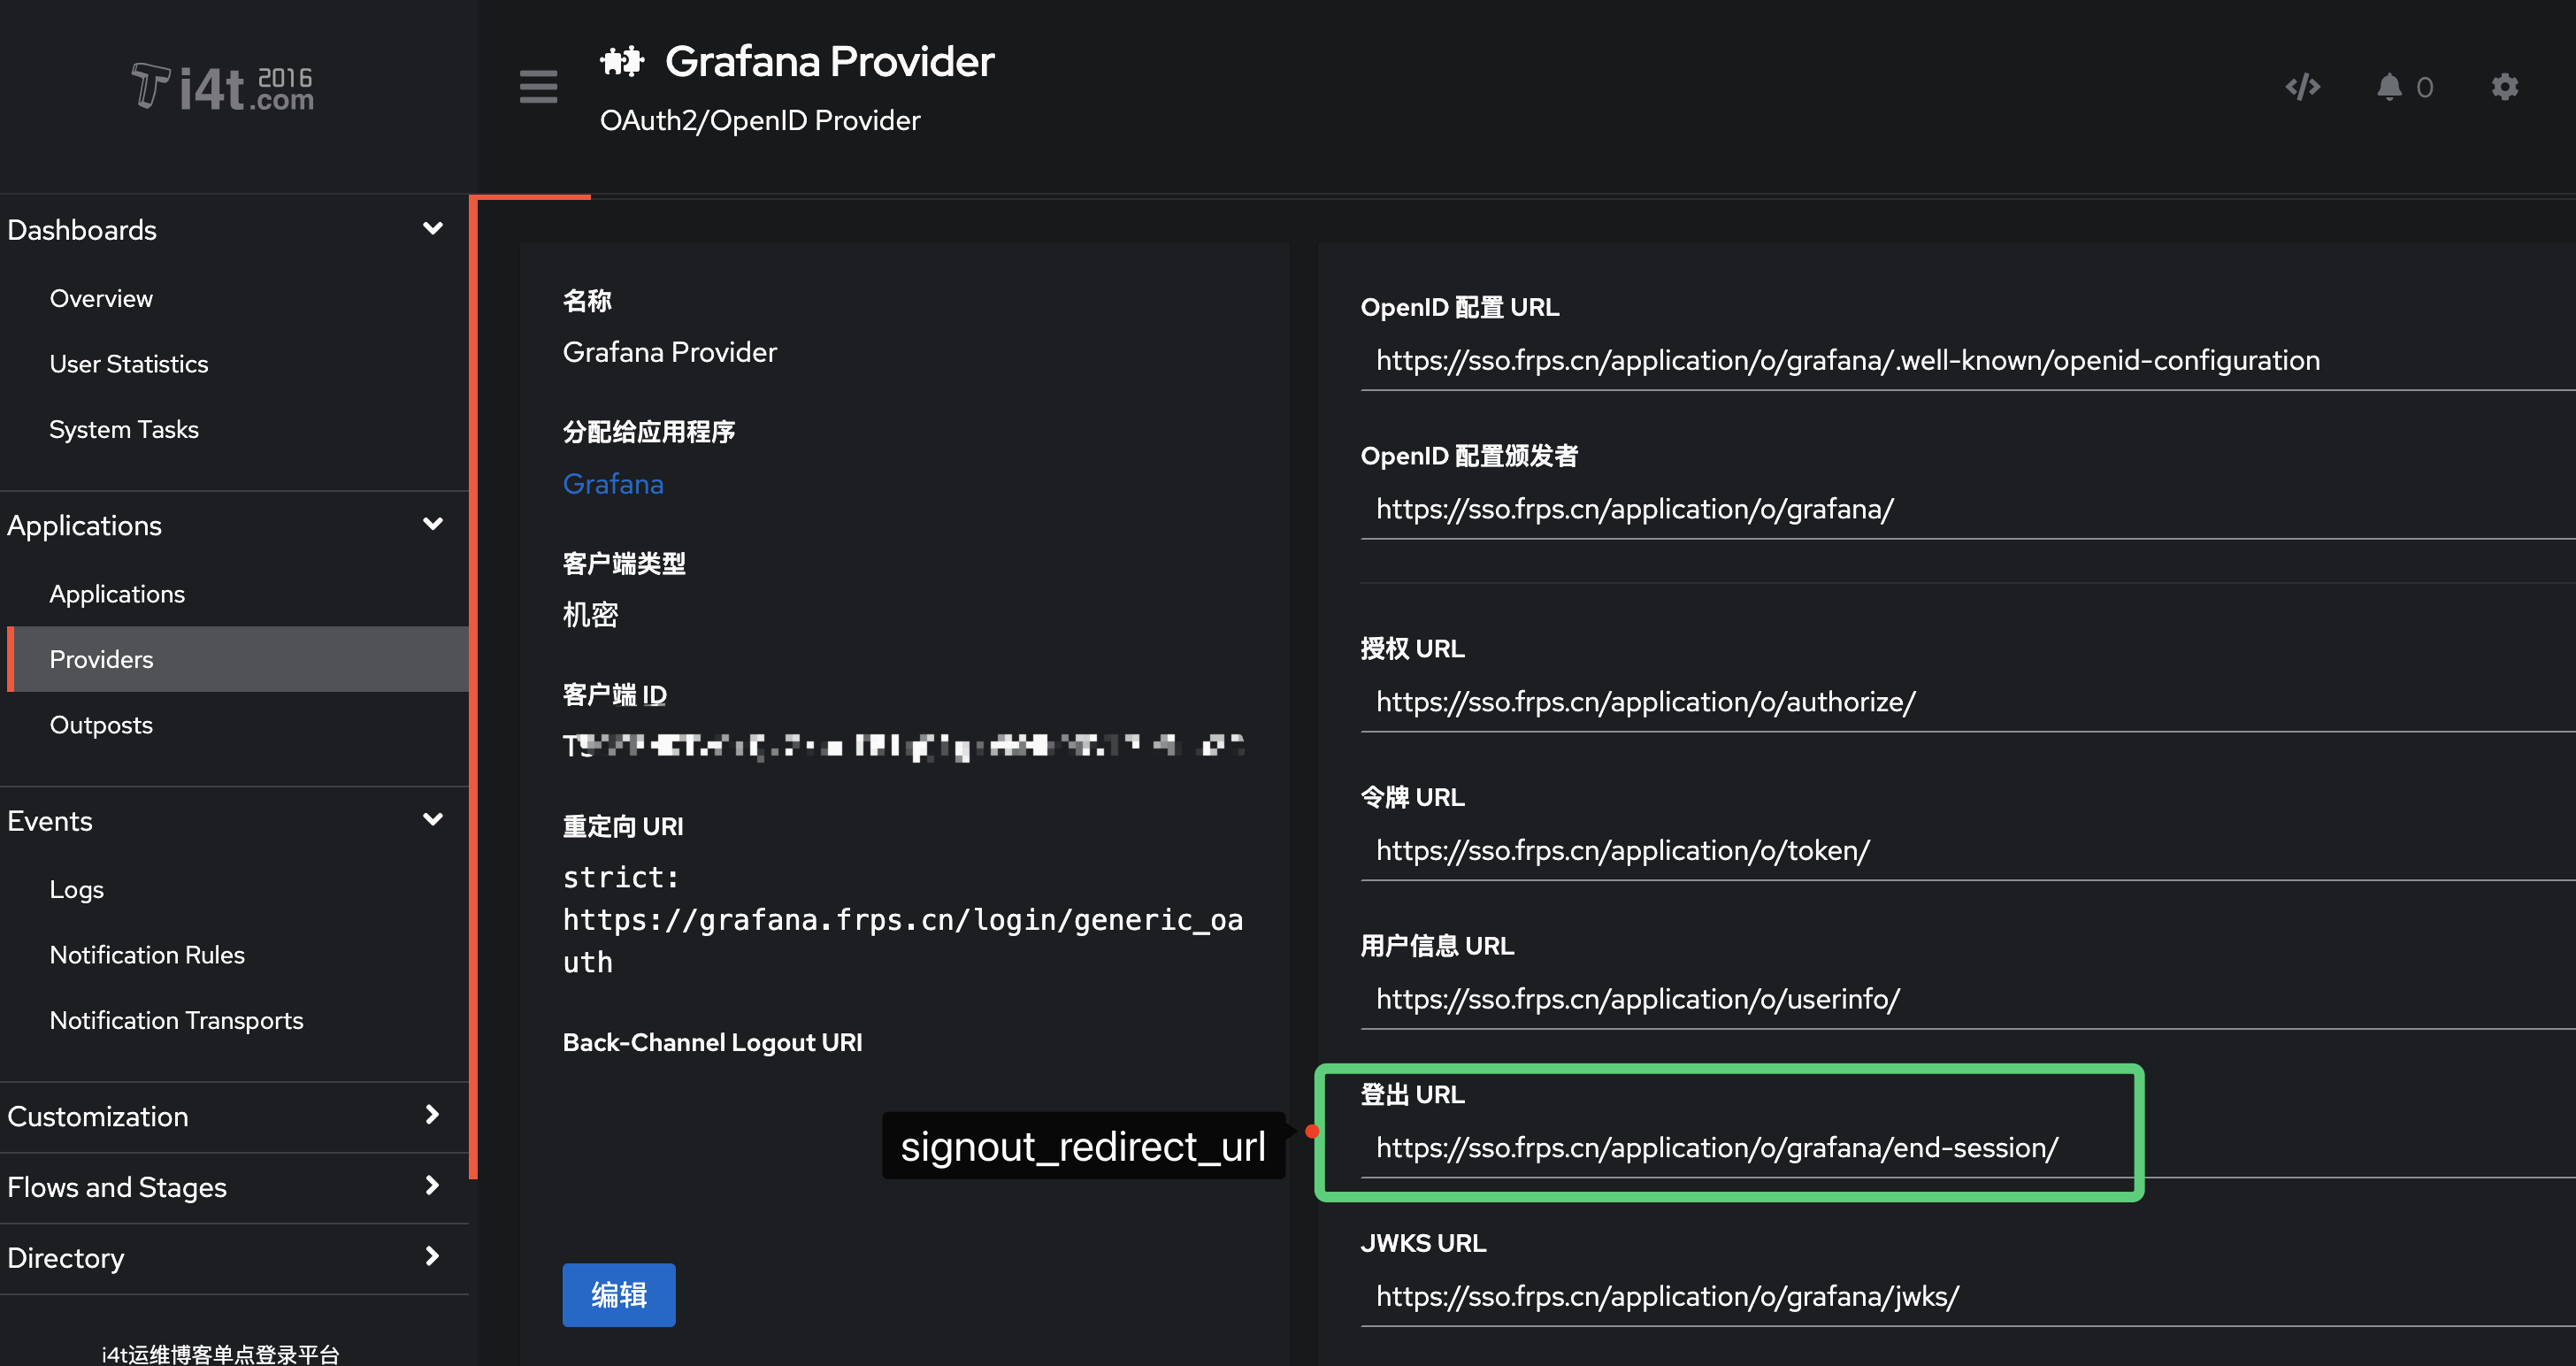
**这里字段映射我已经截图相关配置,需要记住保留,将字段配置到
Grafana中**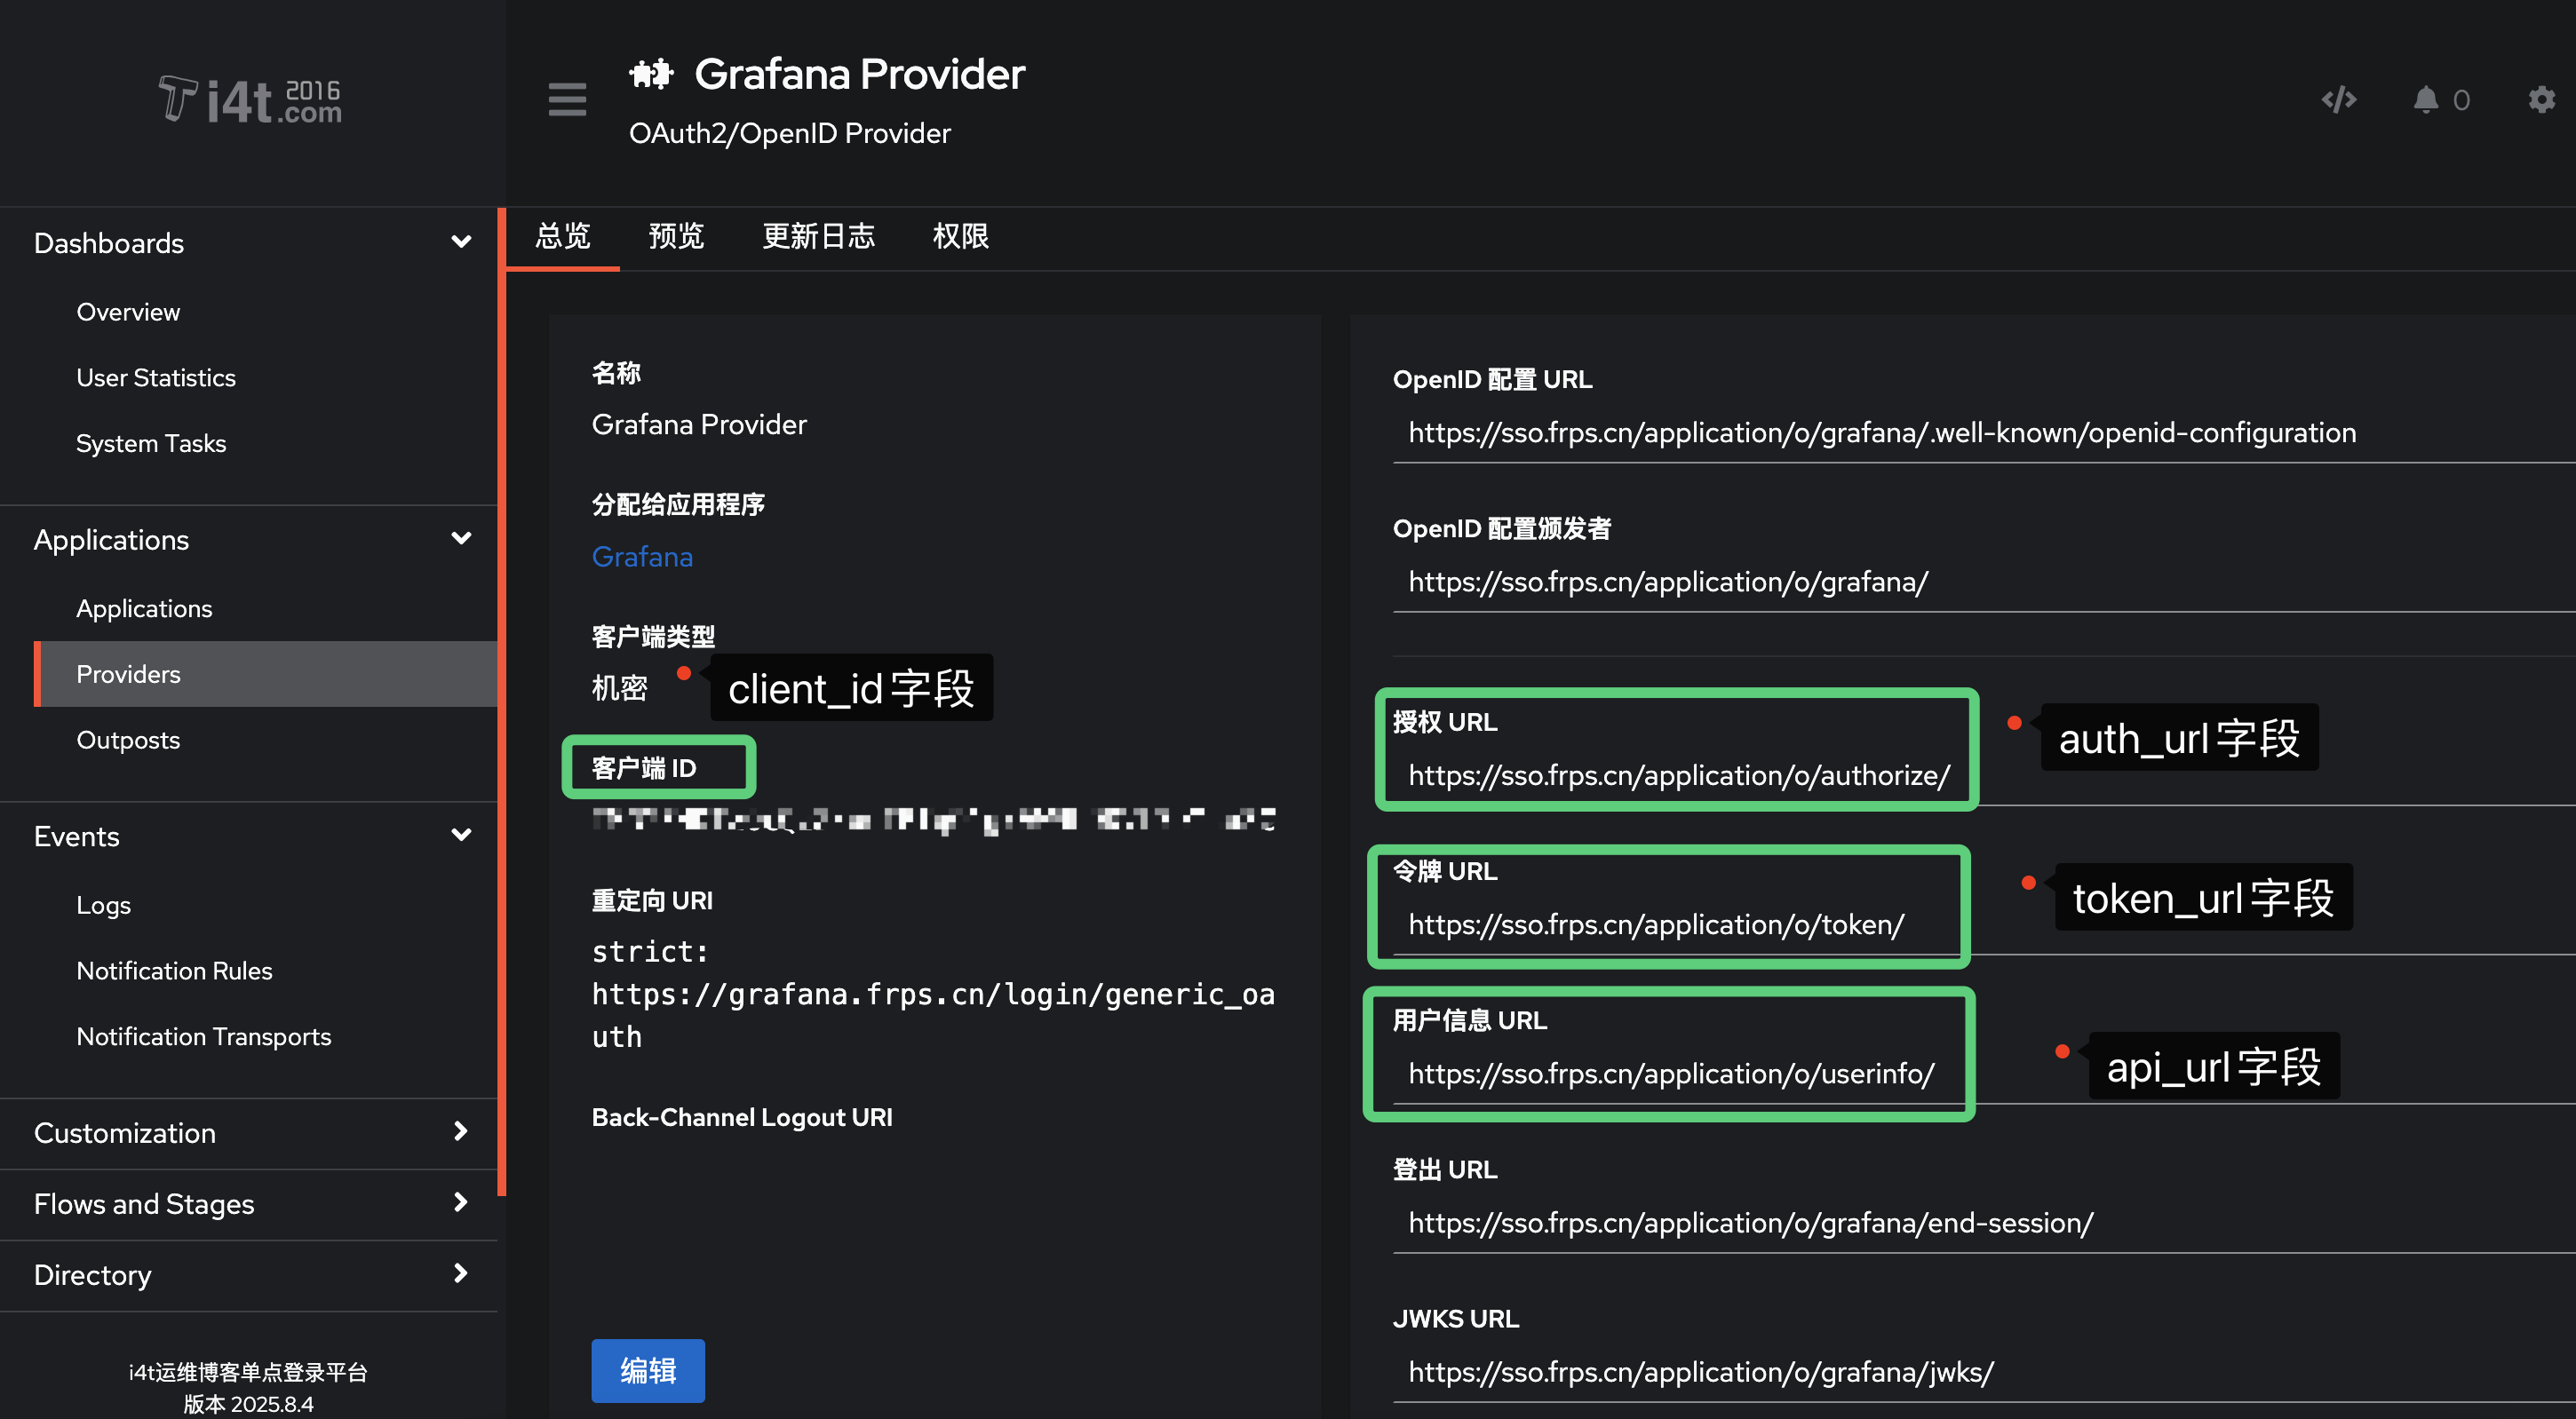
Grafana 配置文件调整
Grafana Kubernetes可以参考下面的文档,我这里配置文件采用k8s configmap创建,自行参考

https://i4t.com/25669.htmljavascript:void(0))
Kubernetes v1.29.9安装Grafana 12并开启匿名访问
新闻联播老司机- 25年7月9日
- 喜欢:0
- 浏览:353
- Grafana.ini 配置文件修改 (演示)
[auth]
signout_redirect_url = https://authentik.company/application/o/<application_slug>/end-session/
# Optionally enable auto-login
oauth_auto_login = true

[auth.generic_oauth]
name = authentik
enabled = true
client_id = <Client ID from above>
client_secret = <Client Secret from above>
scopes = openid email profile
auth_url = https://authentik.company/application/o/authorize/
token_url = https://authentik.company/application/o/token/
api_url = https://authentik.company/application/o/userinfo/
# Optionally map user groups to Grafana roles
role_attribute_path = contains(groups, 'Grafana Admins') && 'Admin' || contains(groups, 'Grafana Editors') && 'Editor' || 'Viewer'
- 如果是使用Docker安装的,只需要在下面添加环境变量信息即可
environment:
    GF_AUTH_GENERIC_OAUTH_ENABLED: "true"
    GF_AUTH_GENERIC_OAUTH_NAME: "authentik"
    GF_AUTH_GENERIC_OAUTH_CLIENT_ID: "<Client ID from above>"
    GF_AUTH_GENERIC_OAUTH_CLIENT_SECRET: "<Client Secret from above>"
    GF_AUTH_GENERIC_OAUTH_SCOPES: "openid profile email"
    GF_AUTH_GENERIC_OAUTH_AUTH_URL: "https://authentik.company/application/o/authorize/"
    GF_AUTH_GENERIC_OAUTH_TOKEN_URL: "https://authentik.company/application/o/token/"
    GF_AUTH_GENERIC_OAUTH_API_URL: "https://authentik.company/application/o/userinfo/"
    GF_AUTH_SIGNOUT_REDIRECT_URL: "https://authentik.company/application/o/<application_slug>/end-session/"
    # Optionally enable auto-login (bypasses Grafana login screen)
    GF_AUTH_OAUTH_AUTO_LOGIN: "true"
    # Optionally map user groups to Grafana roles
    GF_AUTH_GENERIC_OAUTH_ROLE_ATTRIBUTE_PATH: "contains(groups[*], 'Grafana Admins') && 'Admin' || contains(groups[*], 'Grafana Editors') && 'Editor' || 'Viewer'"
    # Required if Grafana is running behind a reverse proxy
    GF_SERVER_ROOT_URL: "https://grafana.company"
我这里演示下我如何修改的
- Authentik 地址为https://sso.frps.cn
- Grafana 地址为https://grafana.frps.cn
- 获取client_id (在提供程序中查看)
- 获取client_secret (在提供程序中查看)
- signout_redirect_url (在提供程序中查看)
- auth_url (在提供程序中查看)
- token_url (在提供程序中查看)
- api_url (在提供程序中查看)
完整配置文件如下展示
grafana.ini[auth]
signout_redirect_url = https://sso.frps.cn/application/o/grafana/end-session/
# Optionally enable auto-login
oauth_auto_login = true
[auth.generic_oauth]
name = authentik
enabled = true
client_id = **********
client_secret = ******
scopes = openid email profile
auth_url = https://sso.frps.cn/application/o/authorize/
token_url = https://sso.frps.cn/application/o/token/
api_url = https://sso.frps.cn/application/o/userinfo/
# Optionally map user groups to Grafana roles
role_attribute_path = contains(groups, 'authentik Admins') && 'Admin' || 'Viewer'> role_attribute_path = contains(groups, 'authentik Admins') && 'Admin' || 'Viewer'
> 这里角色授权我直接绑定Authentik admin用户组为Admin权限
我这里使用
Kubesphere 直接手动修改ConfigMap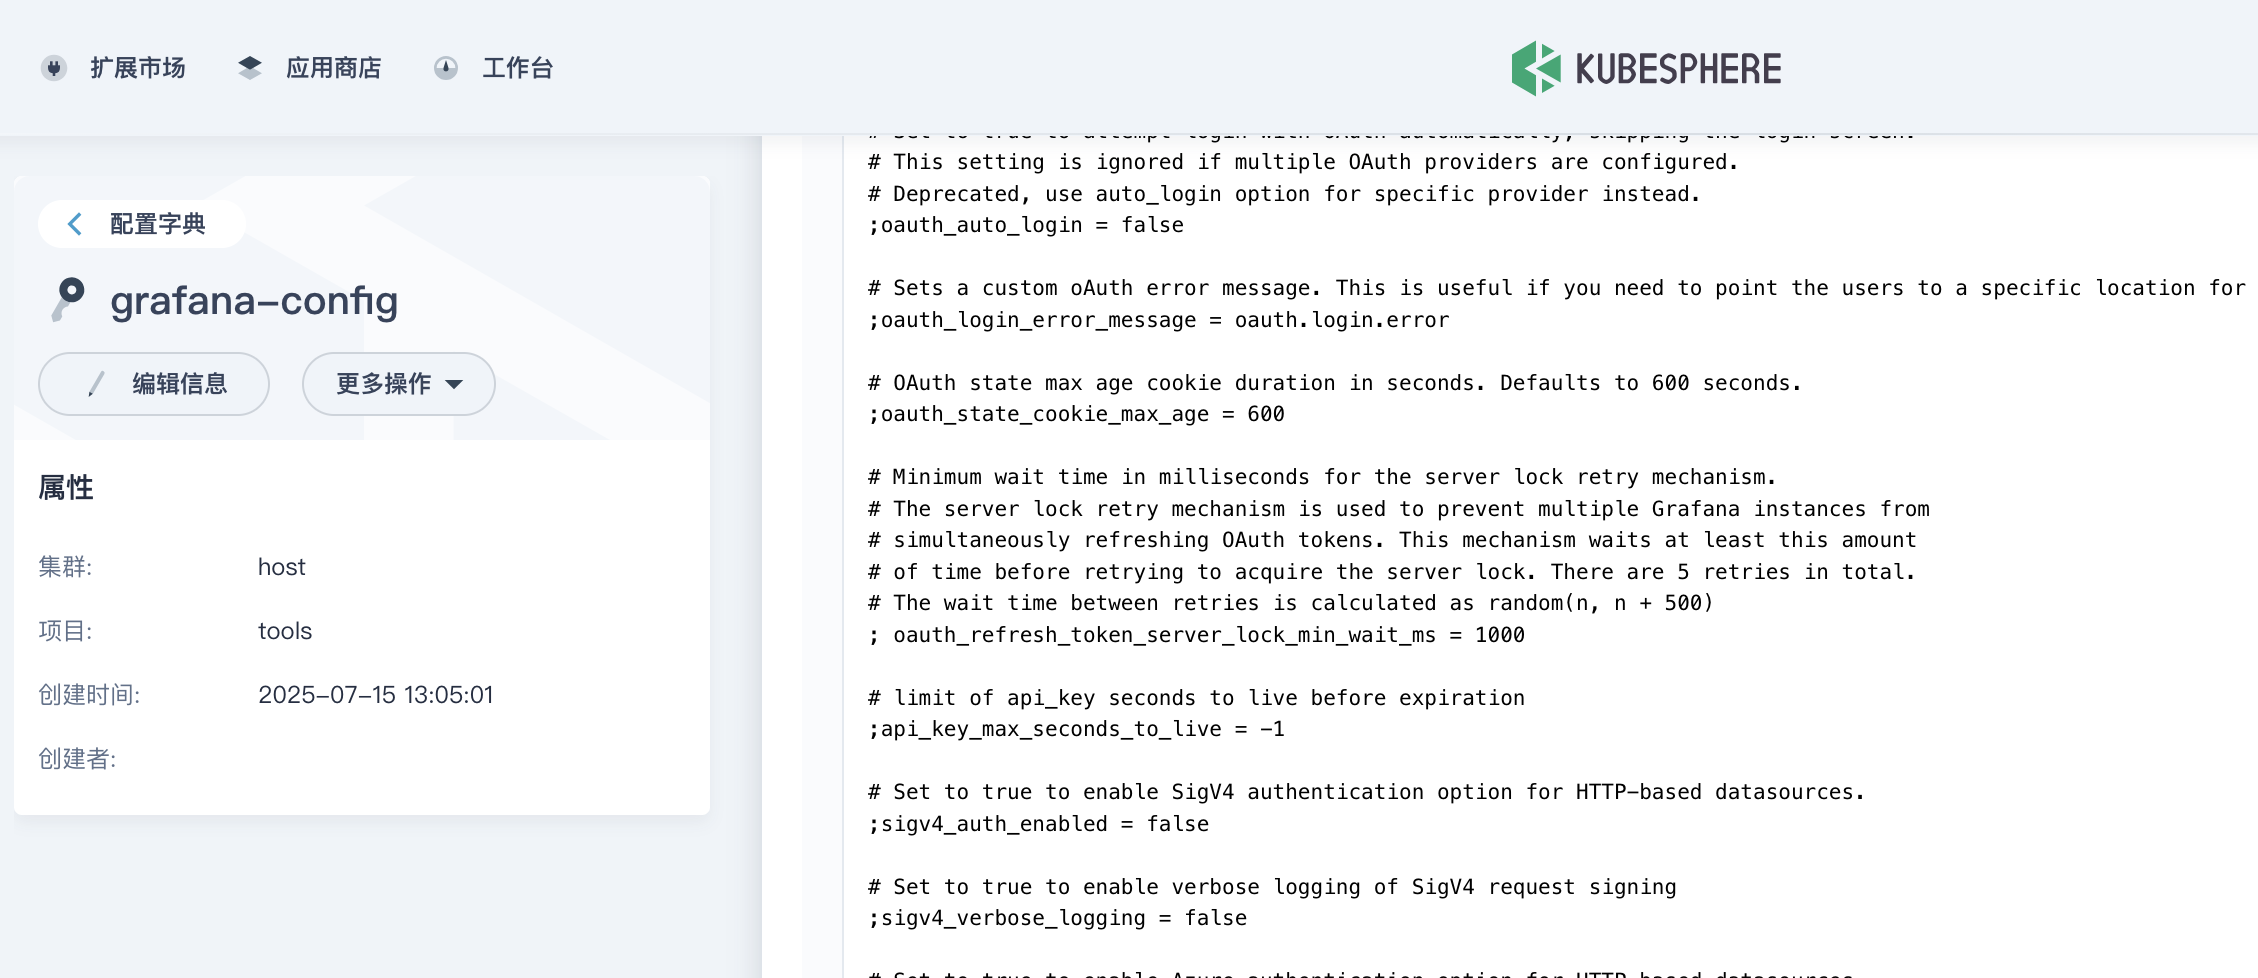
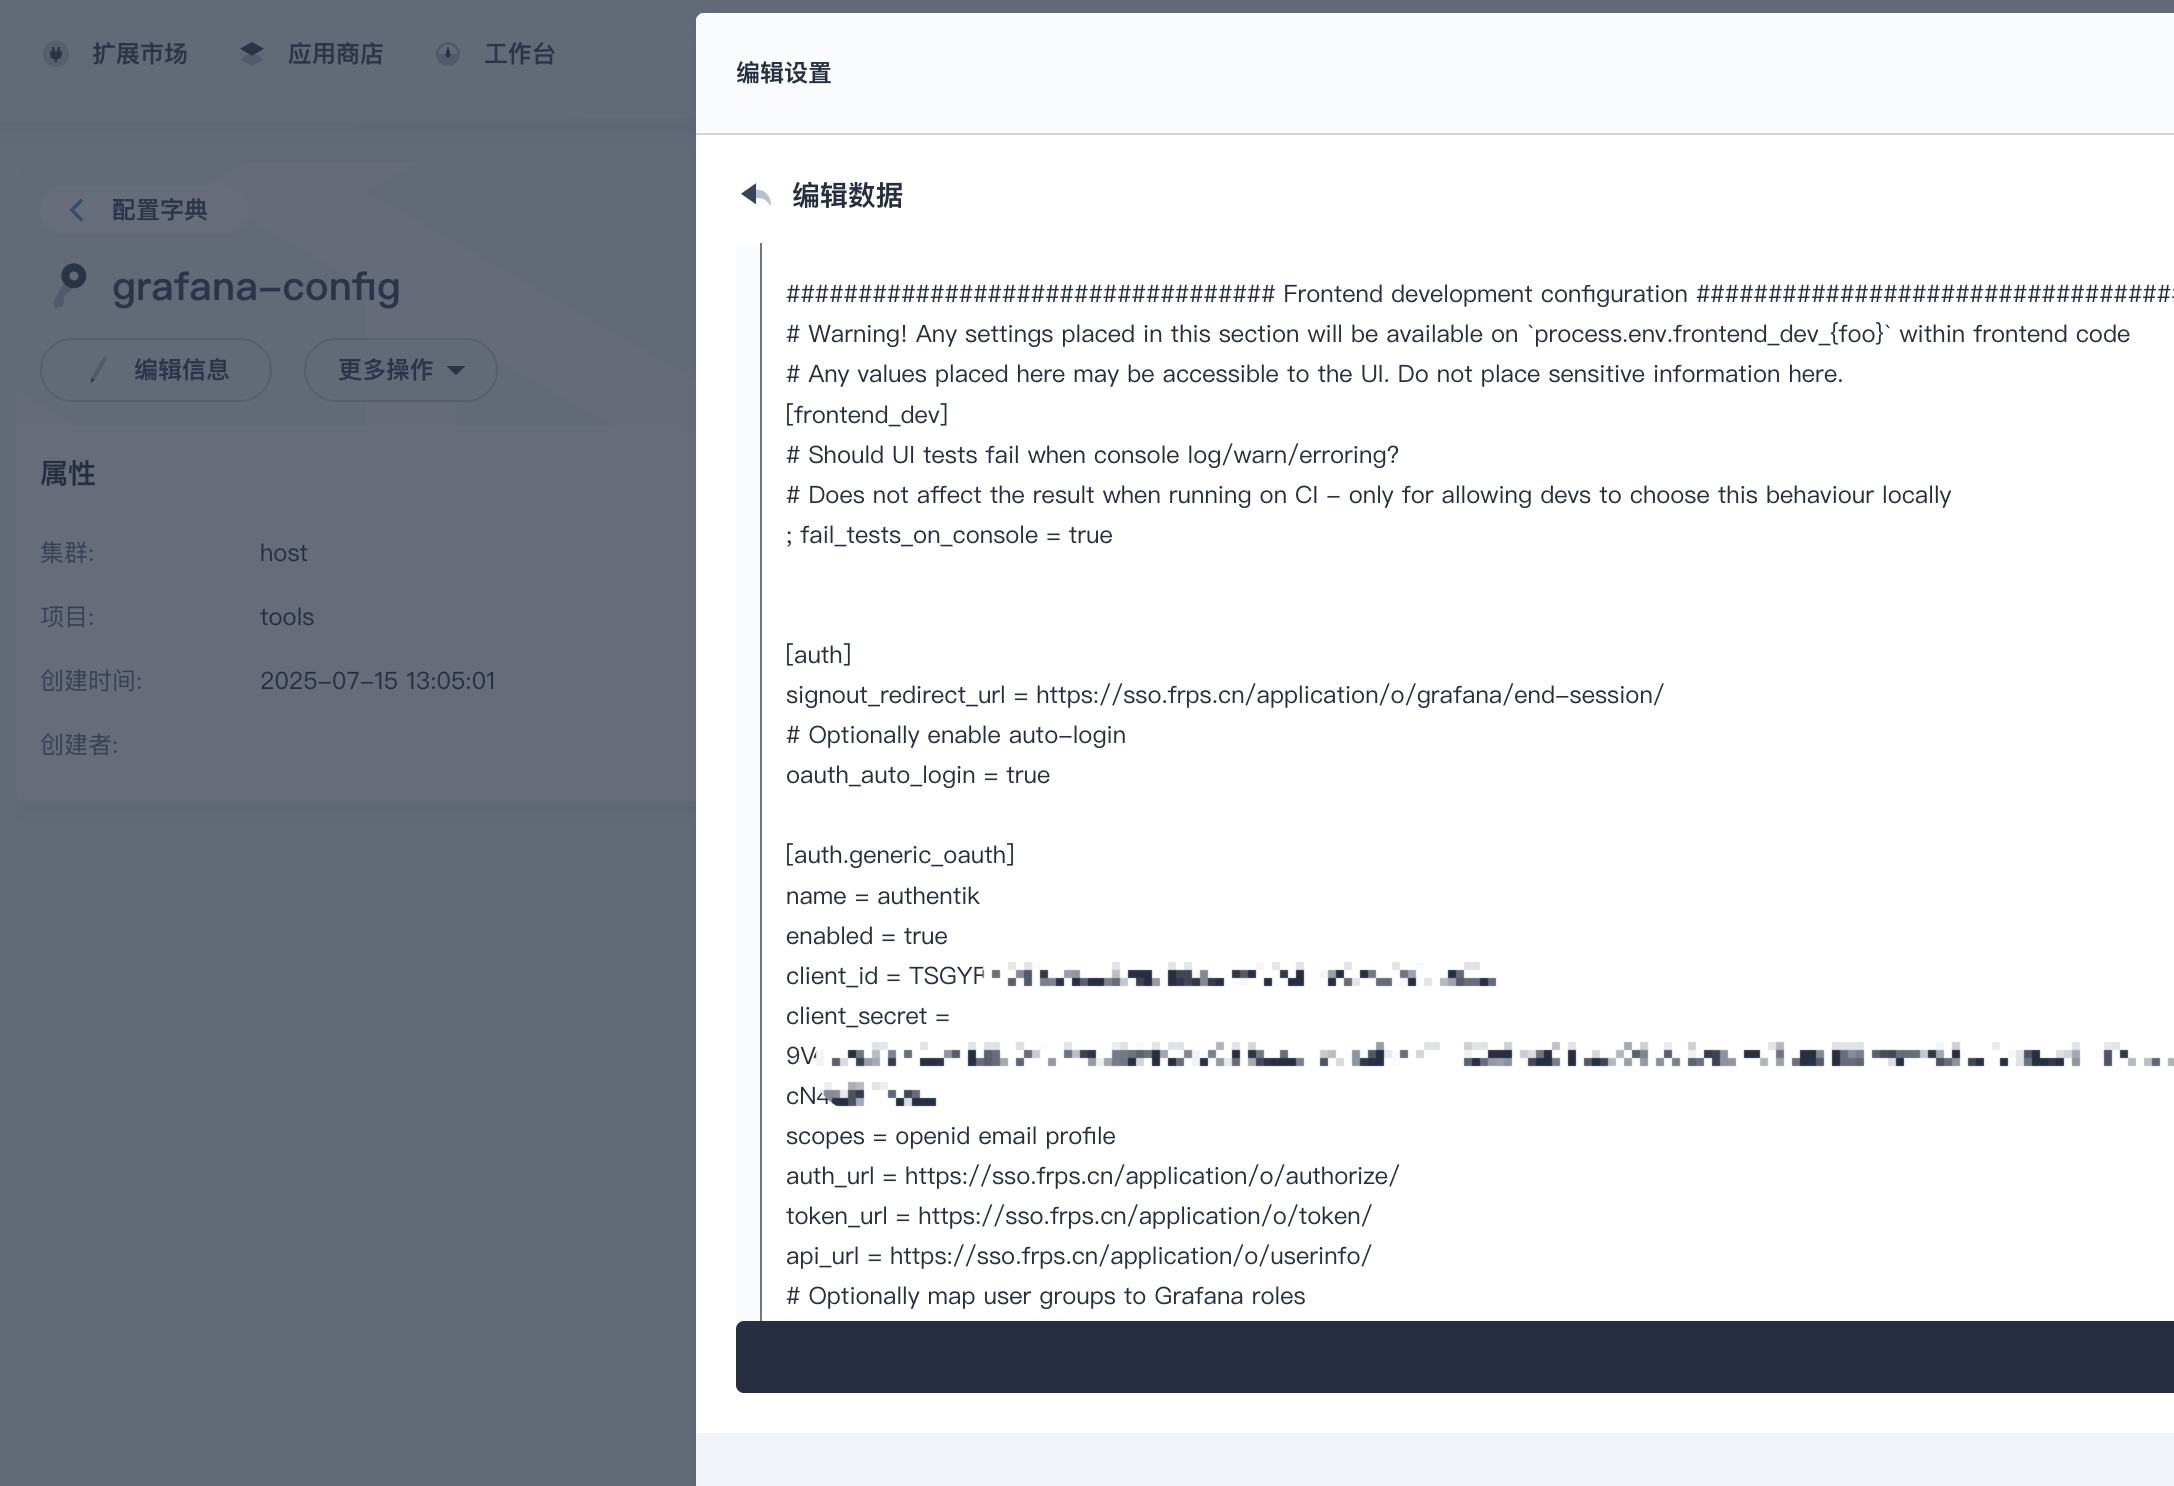
除了以上配置,还需要检查
root_url字段,是否可以和我们对外访问配置的一致,如不一致会出现The request fails due to a missing, invalid, or mismatching redirection URI (redirect_uri).报错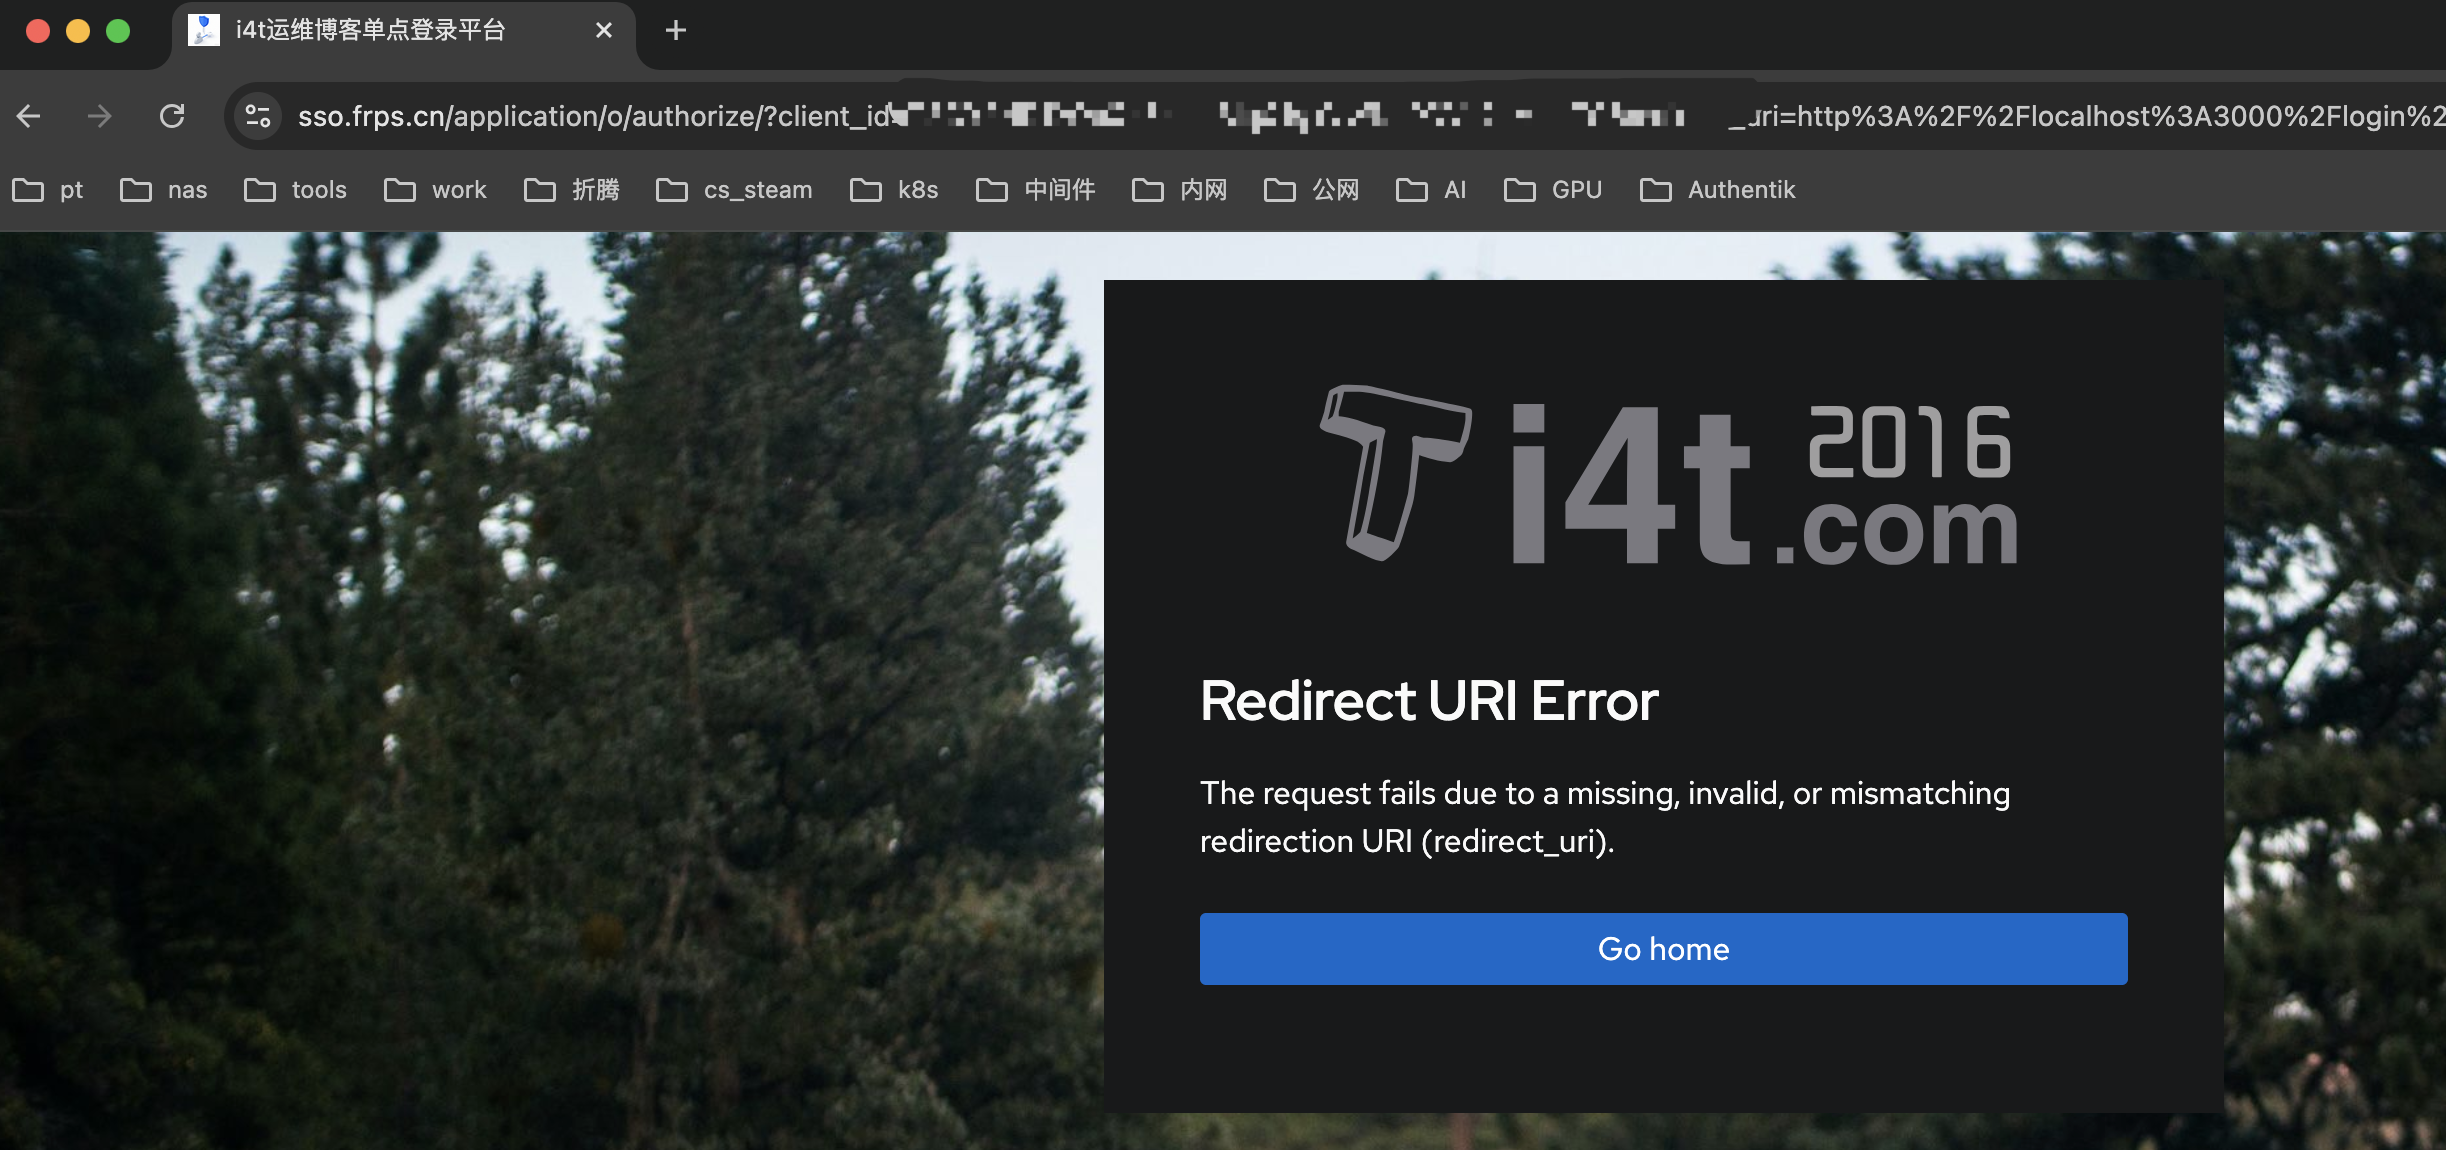
编辑
Grafana.ini,和我们刚刚加配置在一个文件中#这里我的配置,默认这里是被注释掉的
;root_url = %(protocol)s://%(domain)s:%(http_port)s/
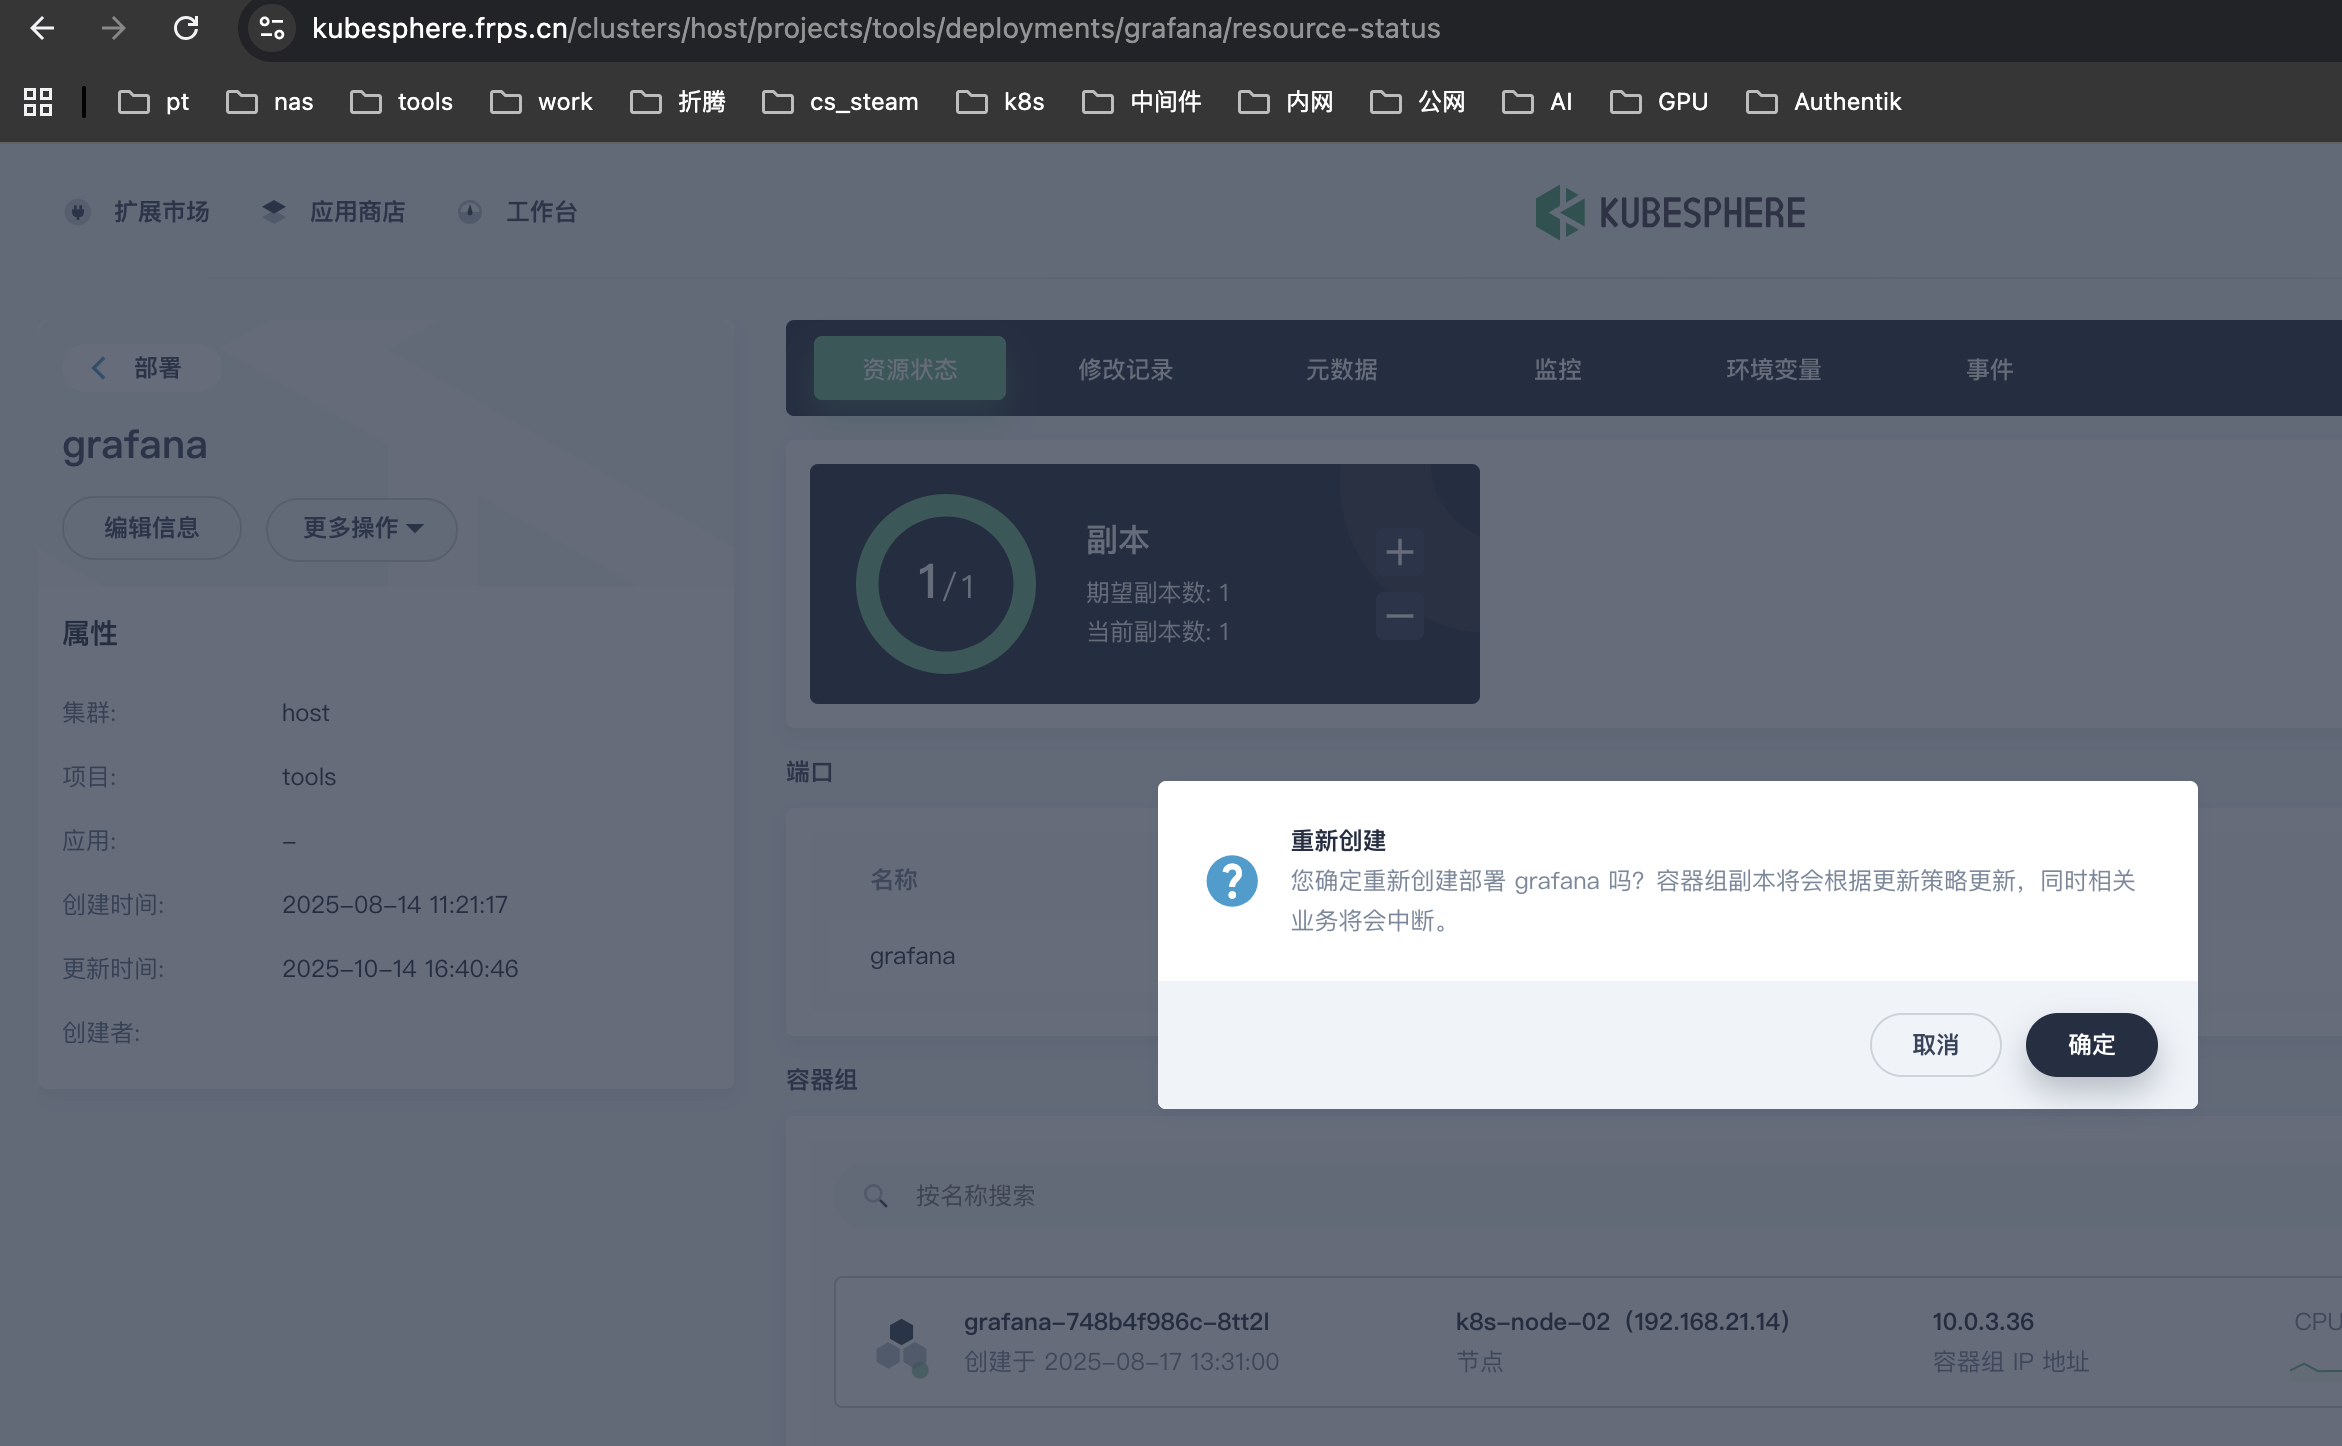
root_url = https://grafana.frps.cn配置完毕后需重启Pod
> 我直接重载,如果是Docker或者其它方式直接重启服务即可
接下来登录访问
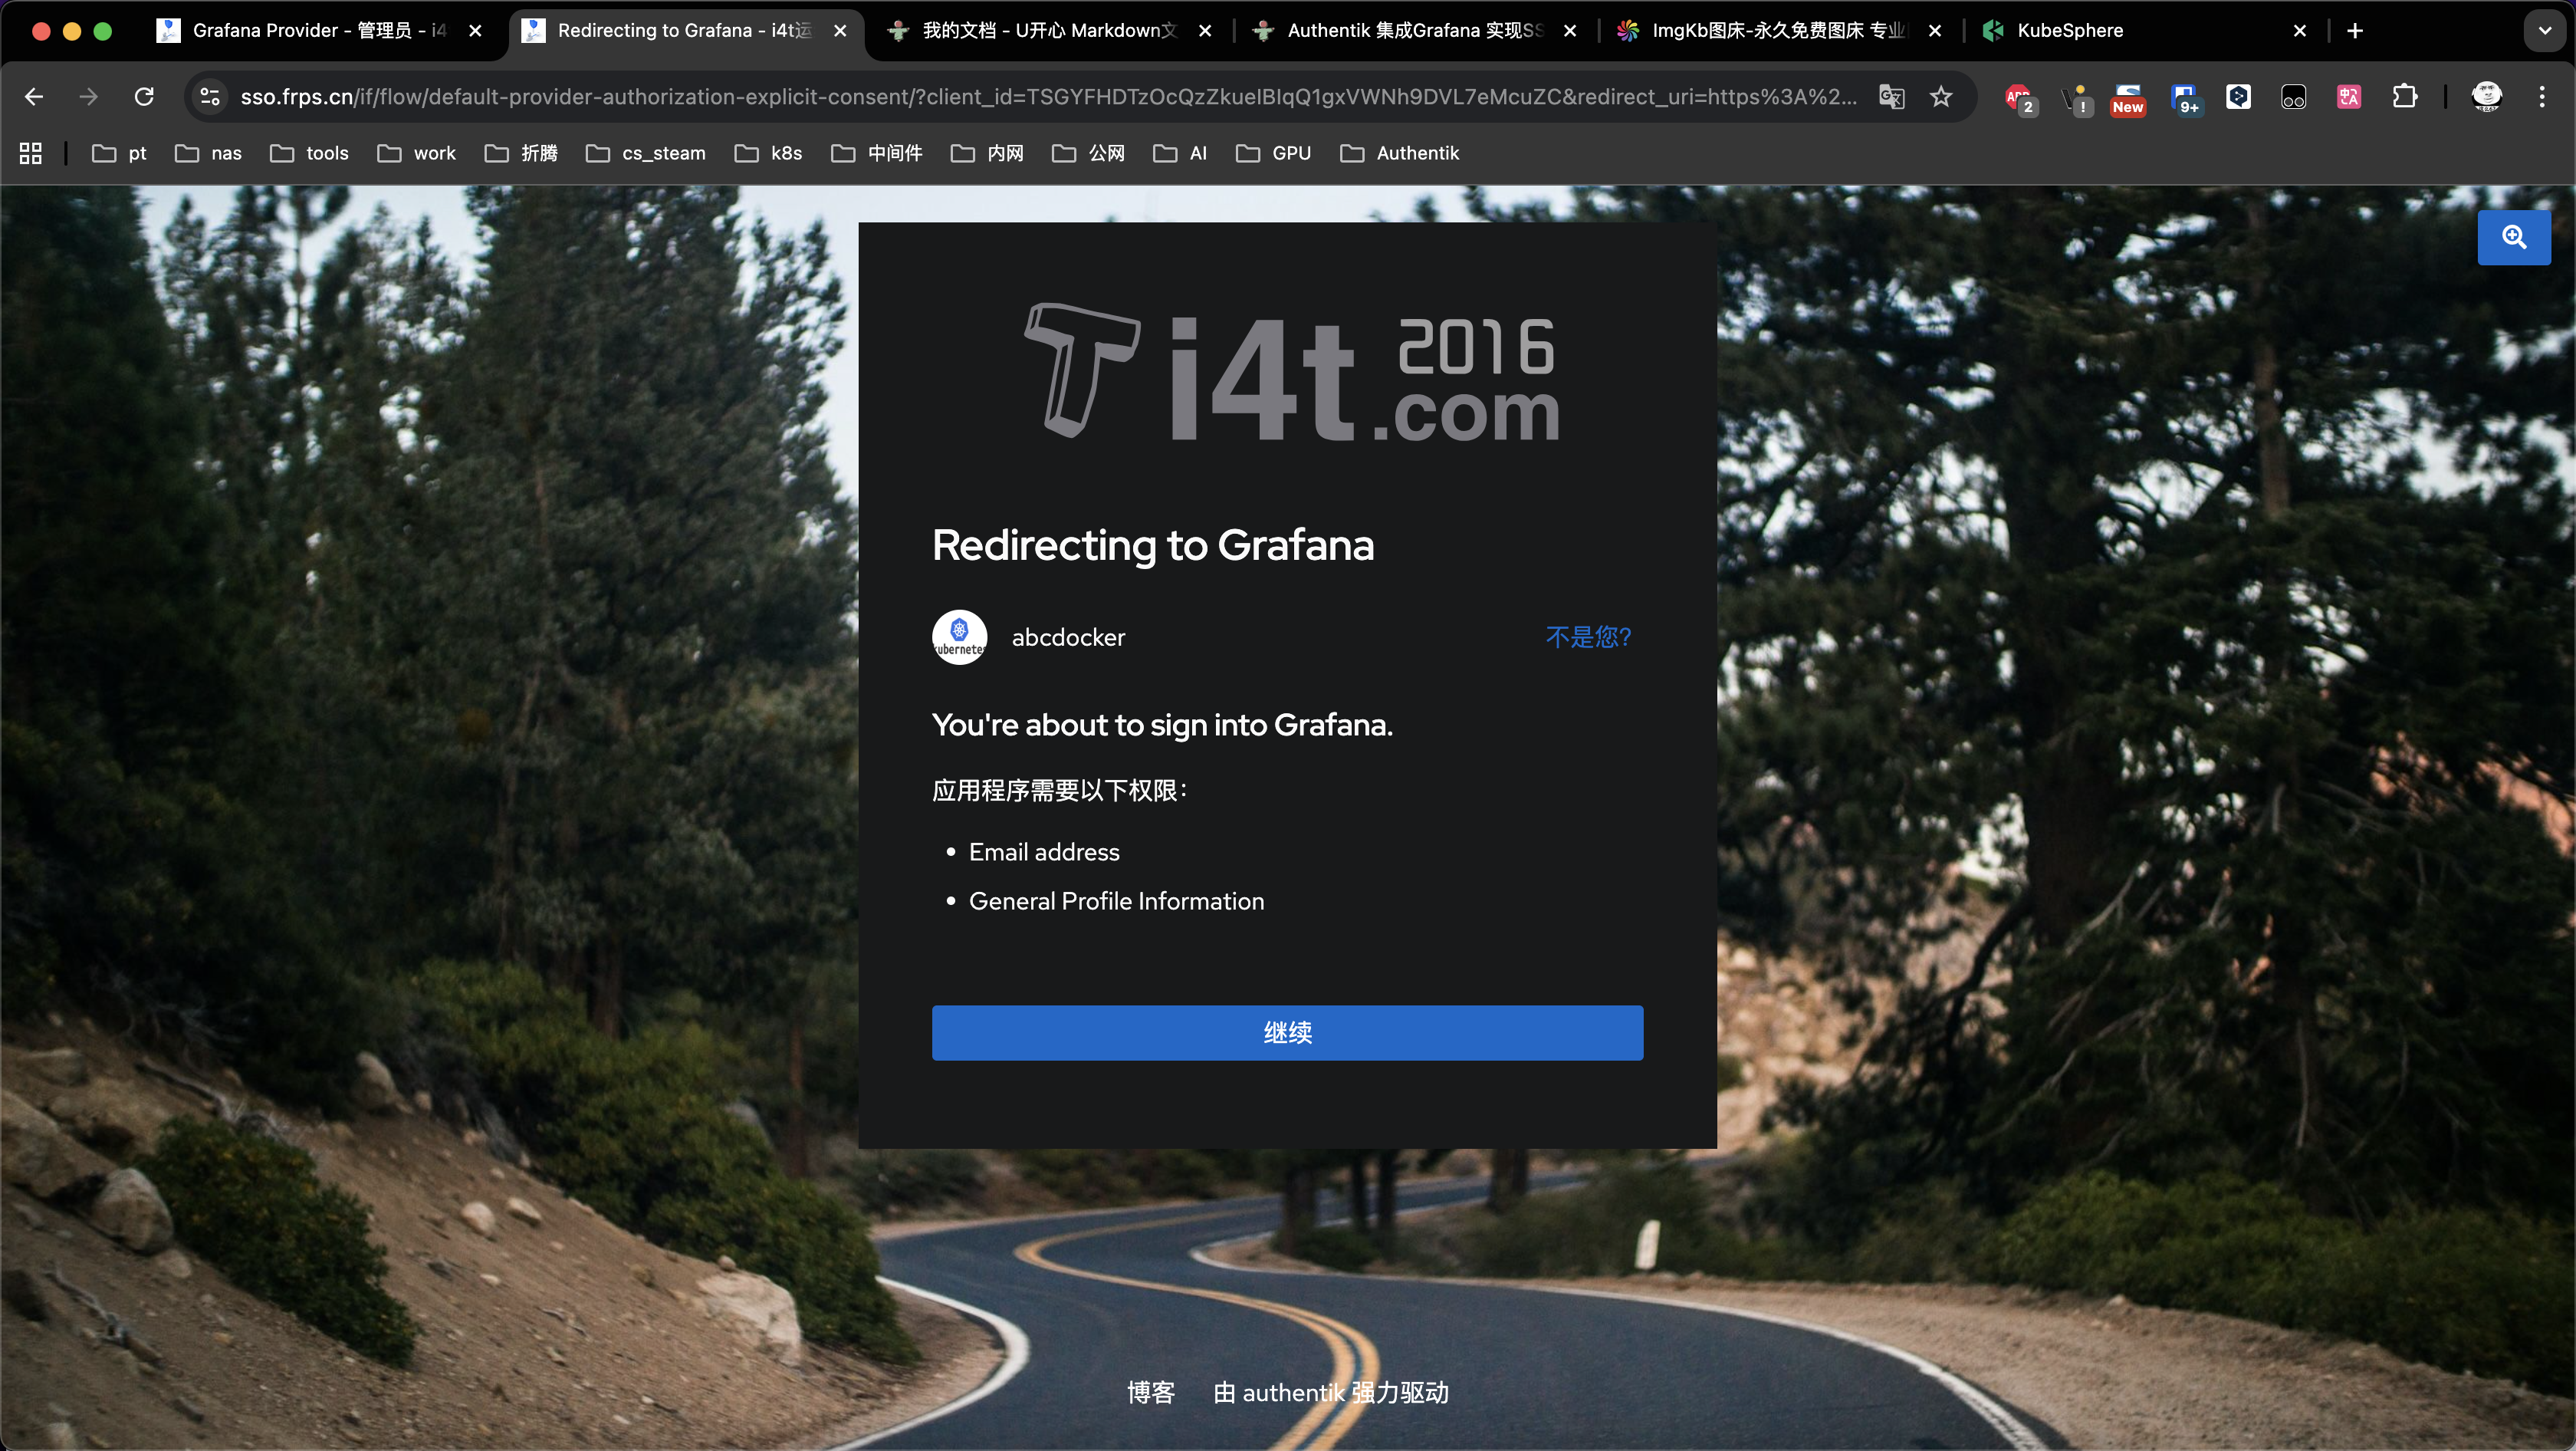
此时登录Grafana就已经关联到我们Authentik用户,并且权限为Admin