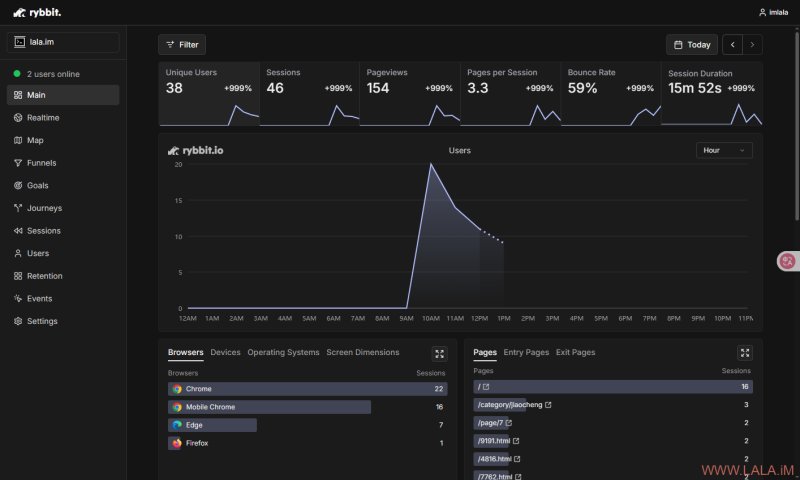
> All key web analytics metrics including sessions, unique users, pageviews, bounce rate, session duration
>
> No cookies or user tracking – GDPR & CCPA compliant
>
> Customizable goals. retention, user journeys, and funnels dashboards
>
> Advanced filtering across 15+ dimensions
>
> Custom events with JSON properties
>
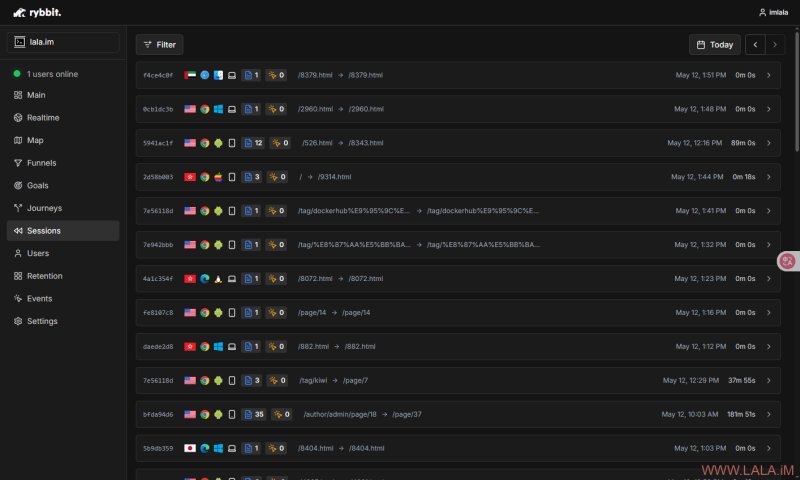
> Live sessions dashboard
>
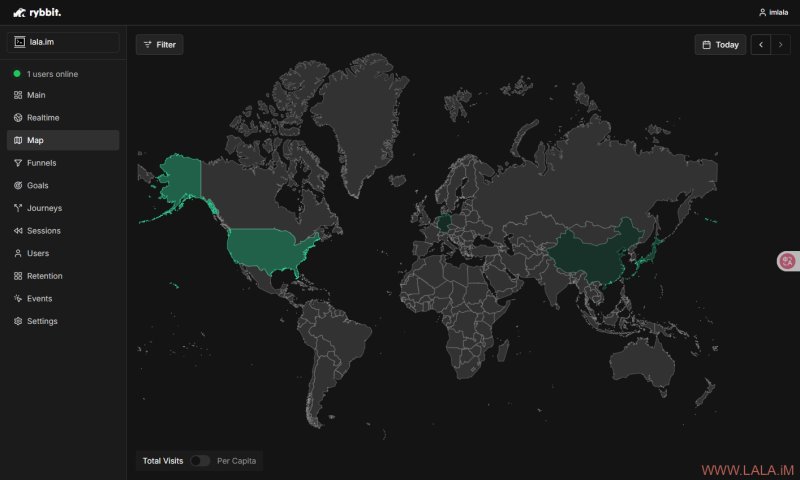
> 3 level location tracking (country -> region -> city) + advanced map visualizations
>
> Real time dashboard
>
> Support for organizations and unlimited number of sites
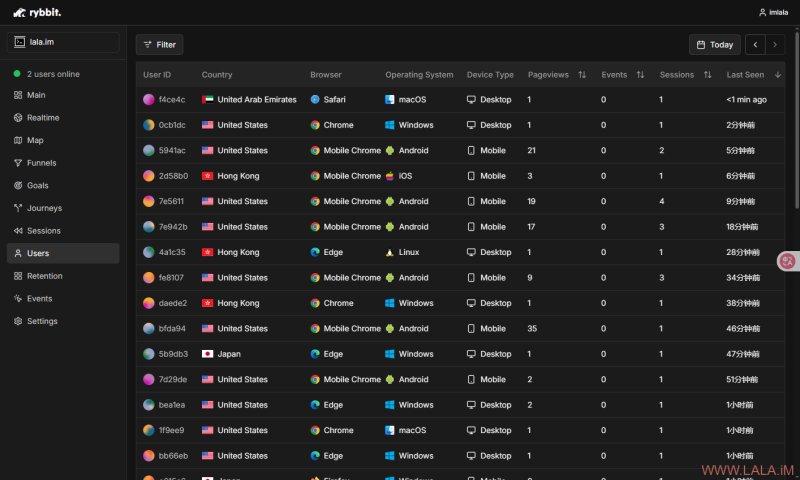
我搭建了试了一下,界面挺好看的:

安装Docker和需要用到的软件包:
apt -y update
apt -y install git curl nginx python3-certbot-nginx
curl -fsSL https://get.docker.com -o get-docker.sh
sh get-docker.sh
克隆Rybbit的仓库:
git clone https://github.com/rybbit-io/rybbit.git
cd rybbit
把仓库内的脚本给可执行权限:
chmod +x *.sh执行安装脚本(将rybbit.example.com域名替换成你自己的):
./setup.sh rybbit.example.com --no-webserver[可选]默认情况下Rybbit的后端监听3001端口,前端监听3002端口,如需更改相应的端口可以执行下面的安装脚本:
./setup.sh rybbit.example.com --no-webserver --backend-port 5000 --client-port 5001配置NGINX反向代理:
nano /etc/nginx/sites-available/rybbit写入如下内容:
server {
    listen 80;
    server_name rybbit.example.com;

    location / {
        proxy_pass http://localhost:3002;  # Client port
        proxy_set_header Host $host;
        proxy_set_header X-Real-IP $remote_addr;
        proxy_set_header X-Forwarded-For $proxy_add_x_forwarded_for;
        proxy_set_header X-Forwarded-Proto $scheme;
    }

    location /api/ {
        proxy_pass http://localhost:3001/;  # Backend port
        proxy_set_header Host $host;
        proxy_set_header X-Real-IP $remote_addr;
        proxy_set_header X-Forwarded-For $proxy_add_x_forwarded_for;
        proxy_set_header X-Forwarded-Proto $scheme;
    }
}
启用站点:
ln -s /etc/nginx/sites-available/rybbit /etc/nginx/sites-enabled/rybbit签发SSL证书:
certbot --nginx访问rybbit.example.com创建你的用户账号。如果后续不打算公开给别人使用,可以编辑环境变量配置文件:
nano .env修改如下设置关闭用户注册:
DISABLE_SIGNUP=true需要执行这个更新脚本让修改后的配置生效:
./update.sh日常维护可使用下面的脚本:
./start.sh
./stop.sh
./restart.sh